
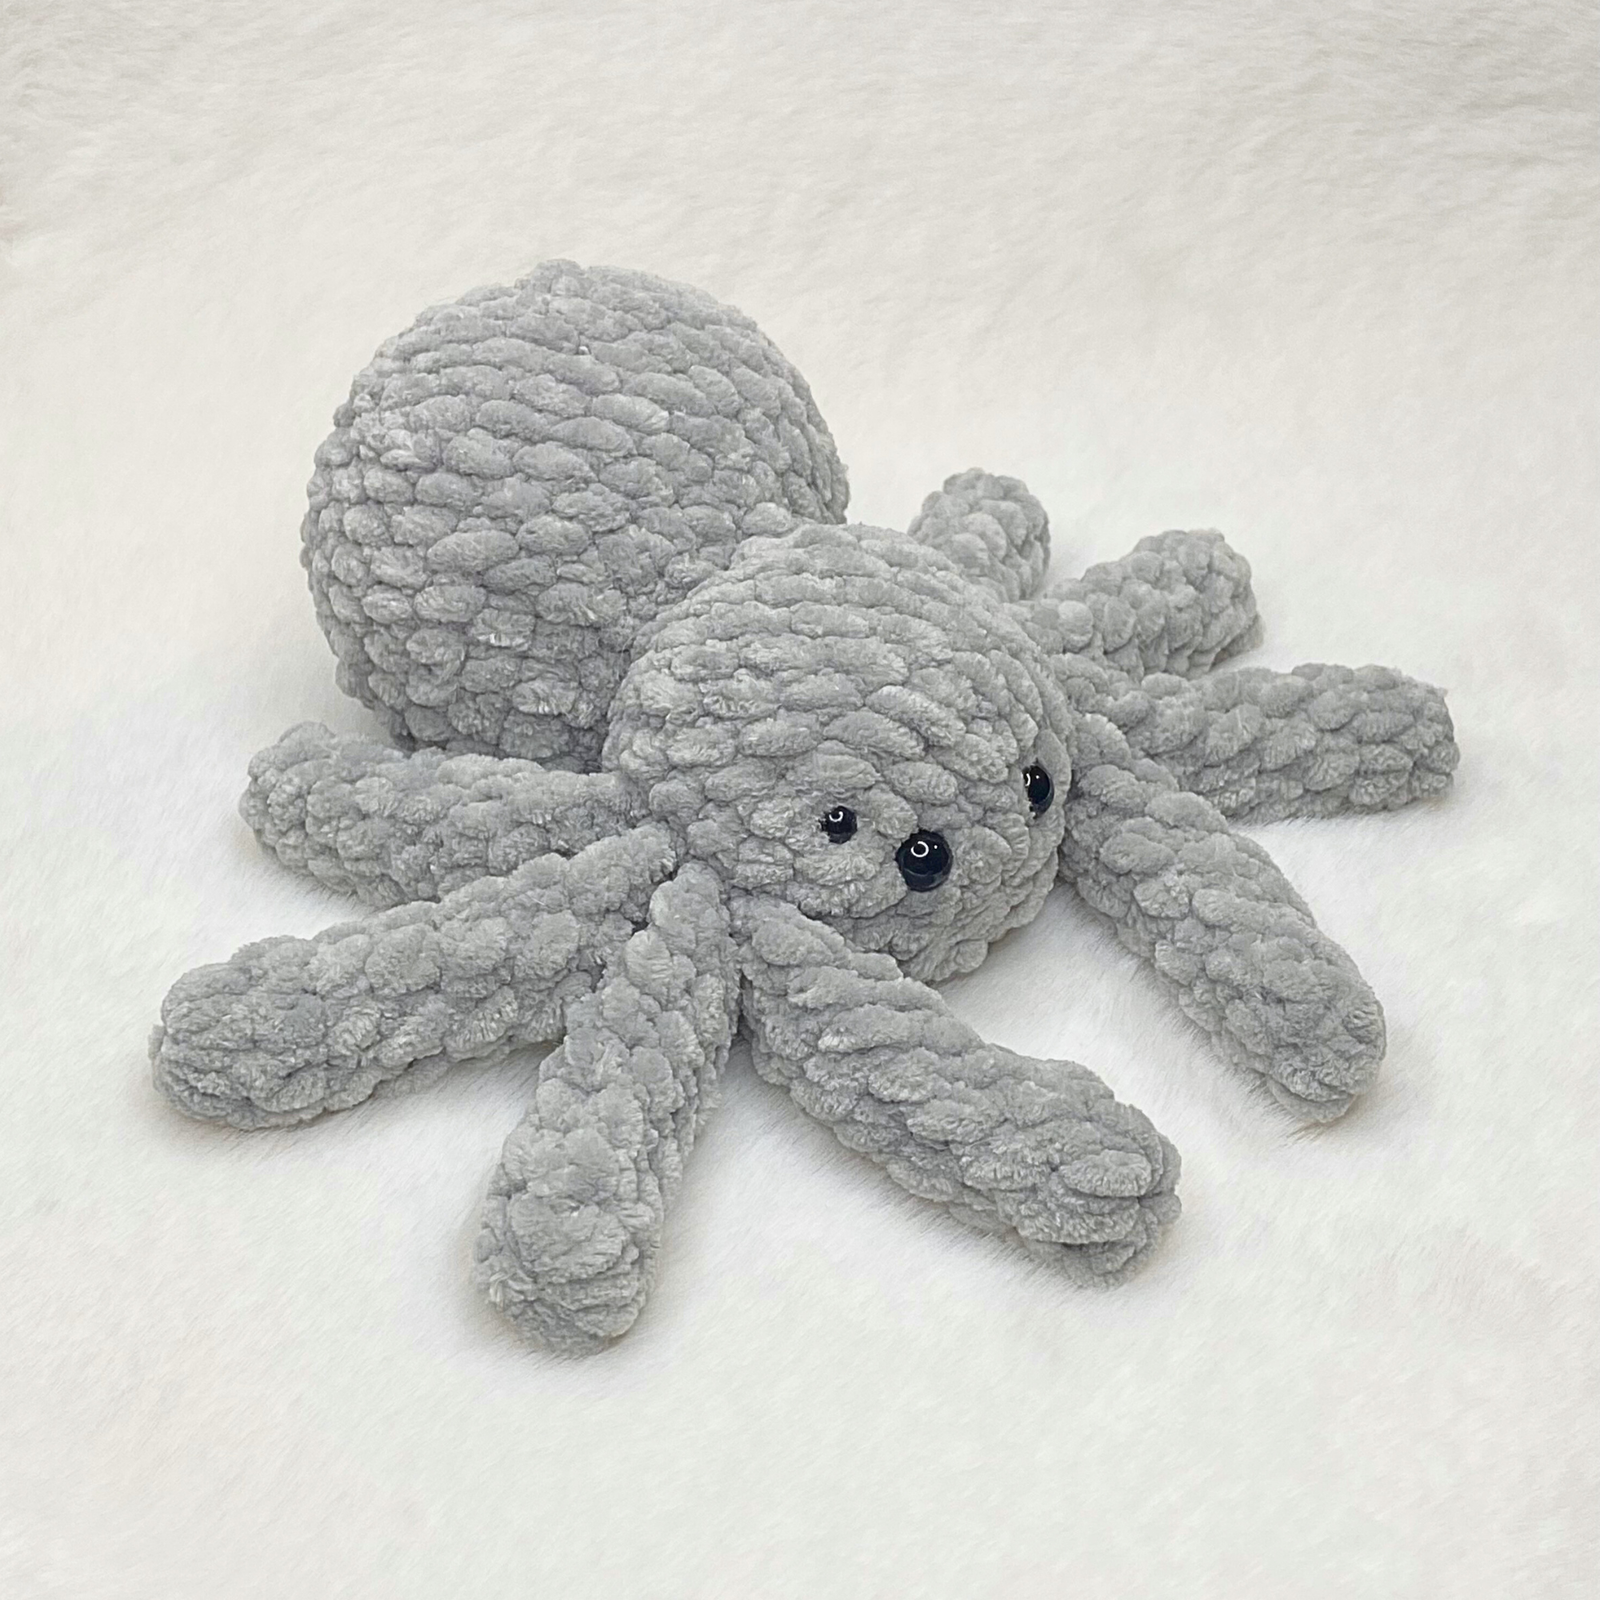
Looking for a quick, charming, and spooky-cute project? This free no-sew crochet spider pattern is the ultimate fast craft for Halloween decor, market prep, or quirky year-round plushies! Crafted in one continuous piece with zero tedious assembly required, this adorable little spider comes together in under an hour.
Keep scrolling for the free pattern or purchase the printable PDF pattern on Etsy (50% off)
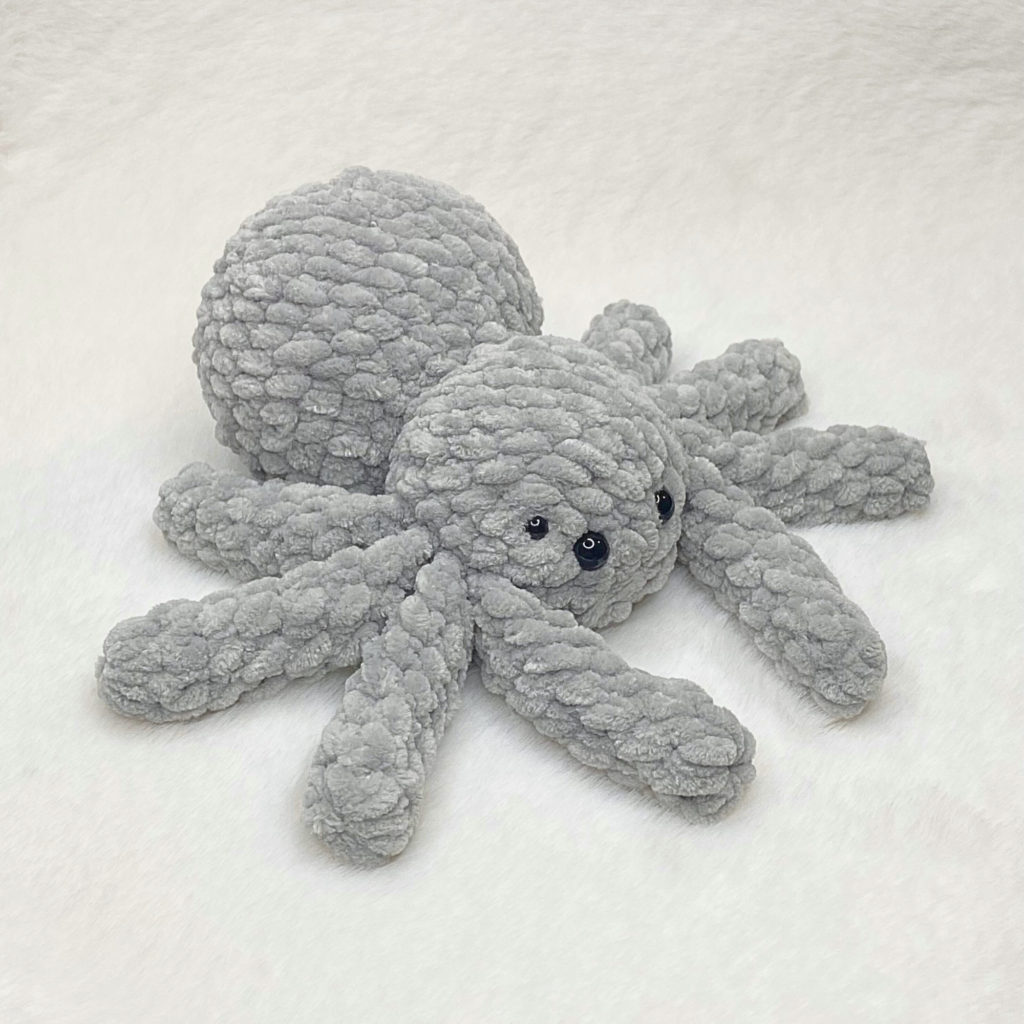
No-sew amigurumi projects are a favorite among crocheters because they eliminate the most time-consuming step of plushie making: aligning and sewing individual limbs. With clever stitch placement, all eight legs are worked directly onto the body as you go. Whether you are using plush velvet yarn for a soft, squishy spider or sleek cotton yarn for a tiny pocket-sized friend, this tutorial provides clear step-by-step guidance suitable for crocheters of all skill levels.
Get the Ad-Free Printable PDF Pattern! (or keep scrolling for the free pattern)
Prefer to download or print this pattern? You can now download the ad-free, printable PDF version of this pattern directly on Etsy! Instant download are available on Etsy right after purchase. Or keep scrolling for the free pattern.
Why You Should Crochet This No-Sew Spider Today
Cute spiders have exploded in popularity across the handmade plushie community. Here is why you will love adding this fast pattern to your collection:
- Zero Sewing Required: Say goodbye to tapestry needles! The legs and body are constructed seamlessly in a single piece, saving you time and frustration.
- Perfect for Halloween & Market Stock: Spiders are top sellers at autumn craft fairs and Halloween markets. Because they are so fast to make, you can easily build up inventory in multiple colors.
- Versatile Spooky Decor: Add a hanging loop to display your spider in a web, turn it into a whimsical keychain, or use it as a cute desk pet.
- Great Scrap Buster: Requiring only a small amount of yarn, this pattern is ideal for using up leftover skeins of plush or chenille yarn sitting in your yarn stash.
Design and Yarn Notes for Best Results
Crocheting small plushies with chenille or velvet yarn produces a remarkably soft finish, but keeping an accurate stitch count around the leg loops is vital to ensure the spider sits flat.
Forming the Legs Seamlessly
The eight legs are created using chain spaces and simple slip stitches or single crochets worked directly into the body round. To ensure the legs flare outward nicely rather than curling inward, maintain a relaxed tension while working the chain stitches.
Tension and Fiberfill Tips
When stuffing small amigurumi, it is easy to overstuff and distort the base. Add small pinches of polyester fiberfill gradually before closing up the bottom. Keeping a firm, even tension throughout the body prevents the white filling from peeking through the dark stitches.
Yarn Substitutions and Material Alternatives
While super bulky plush or chenille yarn gives the spider a chunky, adorable appearance, this versatile pattern works wonderfully with various yarn weights:
- Worsted Weight Cotton Yarn: Swap plush yarn for cotton and a 2.5 mm hook to create miniature spiders that make ideal party favors or bag charms.
- Faux Fur Yarn: For a realistic, fuzzy tarantula effect, try working this pattern with novelty fur yarn. Note that stitches can be harder to see, so use stitch markers diligently.
- Fun Color Combinations: While black and dark purple are classic Halloween choices, bright pastel spiders (like pink or mint green) give this pattern a cute, friendly aesthetic.
More Patterns
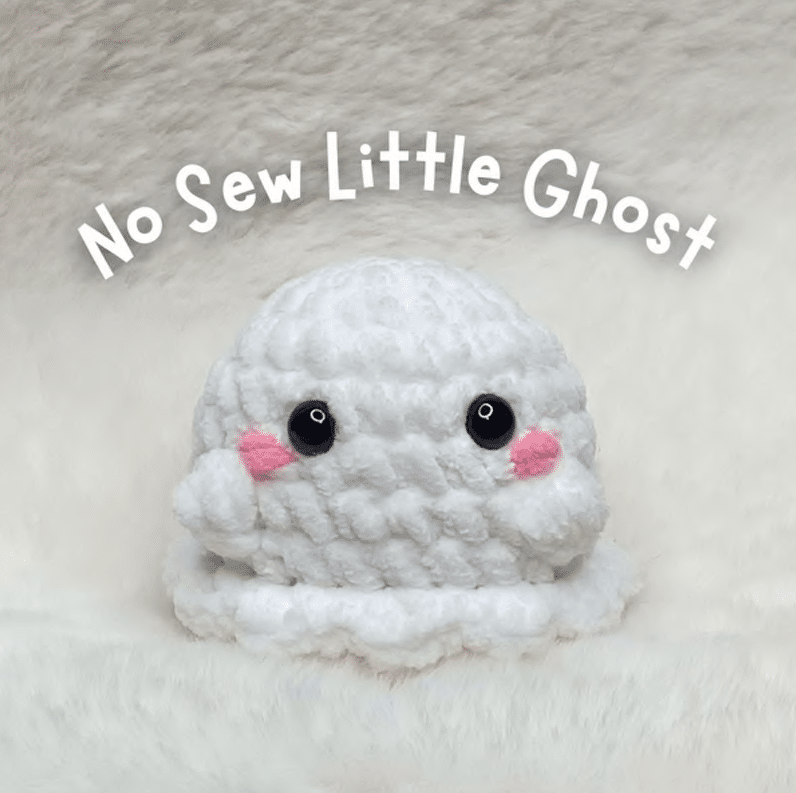
Take a look on the halloween crochet patterns too:
Materials Needed
- Super bulky weight yarn (Suggested: Baby Snuggle Solid in grey)
- Safety eyes: two pairs of different-sized safety eyes (for a realistic look)
- Crochet hook: 4,5 mm
- Tapestry needle
- Fiberfill stuffing
- Stitch markers
- Scissors
Finished Size
Using a 4.5 mm crochet hook and super bulky yarn, the finished spider
measures approximately 19 x 19 cm (7.5 x 7.5 in).
Abbreviations (US Terms)
- MR – magic ring
- st(s) – stitch(es)
- sc – single crochet
- dec – decrease
- inc – increase
- FLO: front loop only
- FO: fasten off
Not ready to start right now?
Get the Ad-Free Printable PDF Pattern!
Prefer to download or print this pattern? You can now download the ad-free, printable PDF version of this pattern directly on Etsy! Instant download are available on Etsy right after purchase.
Shop the Crochet Spider PDF Pattern on EtsyNo-Sew Spider Crochet Pattern
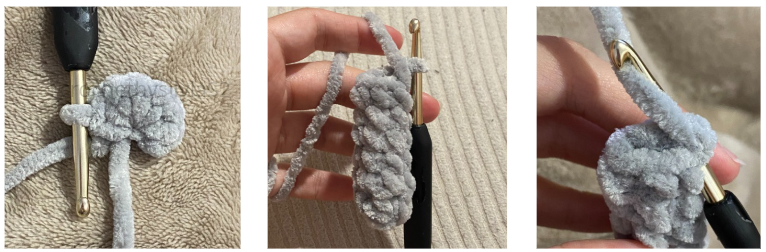
Crocheting the Legs (Make 8)
Start with grey yarn:
Round 1: 6 sc in a MR (6).
Rounds 2-7 (6 rounds): sc all around (6).
Lightly stuff as you go. Fold each leg in half and close it by working sc across the border. Set aside.
Crocheting the Body
Start with grey yarn:
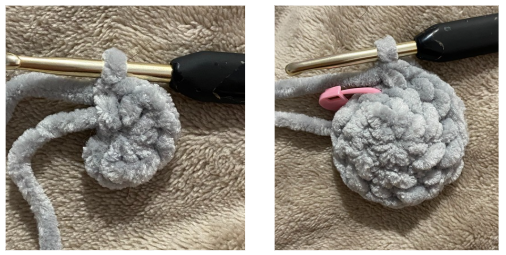
Round 1: 6 sc in MR (6).
Round 2: inc all around (12).
Round 3: (sc, inc) x6 (18).
Round 4: (2 sc, inc) x6 (24).
Round 5: 4 sc, attach leg with 3 sc, 8 sc, attach leg with 3 sc, 6 sc (24).
Round 6: 4 sc, attach leg with 3 sc, 8 sc, attach leg with 3 sc, 6 sc (24).
Eye Placement: Insert the larger pair of safety eyes between rounds 2 and 3, approximately 2 stitches apart. Insert the smaller pair of safety eyes between rounds 3 and 4, approximately 4 stitches apart, slightly lower and further apart than the first pair. Adjust placement to your liking before securing the backs.
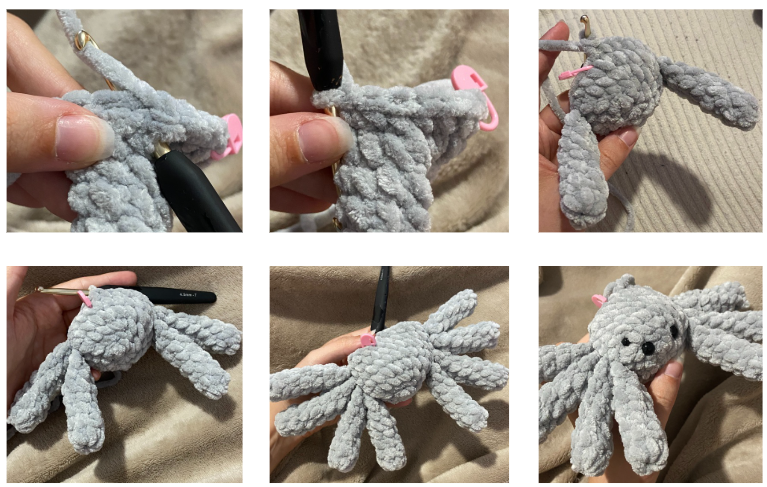
Round 7: 4 sc, attach leg with 3 sc, 8 sc, attach leg with 3 sc, 6 sc (24).
Round 8: 4 sc, attach leg with 3 sc, 8 sc, attach leg with 3 sc, 6 sc (24).
Round 9: (2 sc, dec) x6 (18).
Round 10: (sc, dec) x6 (12).
Round 11: FLO: inc all around (24).
Put stuff inside tightly as you go.
Round 12: (3 sc, inc) x6 (30).
Round 13: (4 sc, inc) x6 (36).
Rounds 14-15 (2 rounds): 36 sc (36).
Round 16: (4 sc, dec) x6 (30).
Round 17: (3 sc, dec) x6 (24).
Round 18: (2 sc, dec) x6 (18).
Round 19: (sc, dec) x6 (12).
Round 20: dec all around (6).
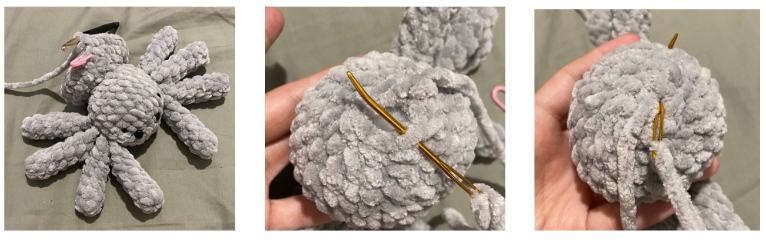
FO, sew the six stitches FLO with a needle, pull the yarn to close the plushie and hide yarn inside.
Finishing Touches and Safety Advice
After closing the body, gently tug each leg outward to shape them so the spider stands evenly on flat surfaces. If you want to hang your spider, thread a piece of yarn or fishing line through the top of the body and tie a secure loop.
Safety Note: If you are gifting or selling this spider as a toy for young children, consider embroidering the eyes with white or black thread instead of using plastic safety eyes to eliminate potential choking hazards.
And that’s it!
I hope you enjoyed crocheting this free spider crochet pattern just as much as I loved designing it. If you decide to make one, I would love to see how it turns out—don’t forget to tag me on Instagram (@crochetbysilvia) so I can admire your cute amigurumi!
Your support means the world and helps me keep creating and sharing more free patterns with you!
Frequently Asked Questions About This Pattern
Absolutely! This pattern uses basic stitches like single crochet, chains, increases, and decreases. Since there is no sewing involved, it is a stress-free project for beginners.
Most crocheters can complete a plush spider in about 30 to 40 minutes, making it one of the fastest amigurumi projects available.
Yes! You are welcome to sell physical plushies made with this free pattern at craft fairs or online shops. Don’t use my original photos as your listing pictures.
Don’t doubt to check our other free crochet patterns.
Happy crocheting!
This pattern is for personal use only. You may not copy, reproduce, alter, publish, or distribute this pattern in any format (including video tutorials). If you wish to share this pattern, please share a link to it rather than reprinting it on your site or blog.
You are welcome to sell finished items made from this pattern in small quantities, but do NOT use my photos as your listing or promotional photos. Please credit Crochet by Silvia as the designer.
Want to make more cute ocean friends? Check out my free turtle crochet pattern or my free jellyfish crochet pattern!
Great pattern! Works up quickly with easy to follow directions.
Thank you so much Jenny, I’m glad that you liked it!