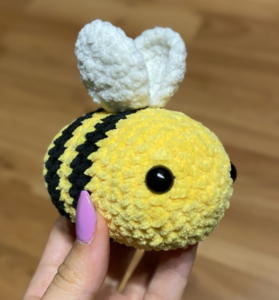
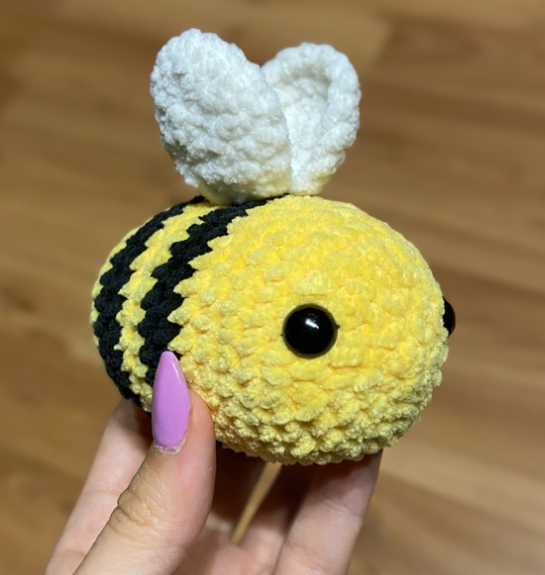
If you are looking for an iconic, charming, and beginner-friendly project, this free plush crochet bee pattern is an absolute essential! With its chubby yellow-and-black striped body, soft white wings, and sweet embroidered details, this squishy bumblebee is one of the most popular handmade items in the crafting world. Whether you are prepping inventory for local markets, creating cozy nursery decor, or crafting cute gifts for friends, this quick tutorial comes together in under an hour.
Amigurumi bees are loved by crocheters of all skill levels because they combine fundamental shaping techniques with quick, gratifying results. Working with plush chenille yarn gives the bee its signature velvety texture and adorable chubby shape. In this step-by-step guide, you will find a complete walkthrough of materials, yarn substitution ideas, secrets for seamless color changes, and clear row-by-row instructions to craft your very own honeybee.
Why You Should Crochet a Plush Bee Today
Plush bumblebees have taken social media and craft fairs by storm, remaining a top-trending item year after year. Here is why adding this cute bee to your project queue is a great choice:
- Proven Market Bestseller: Bees are universally adored and sell exceptionally well at craft markets, spring pop-ups, and online handmade shops.
- Fast and Low-Sew Design: The body is worked seamlessly in continuous rounds with color changes, requiring minimal assembly for the wings and facial details.
- Fantastic Scrap Buster: Requiring only small amounts of yellow, black, and white yarn, this project is ideal for using up leftover skeins from your yarn stash.
- Great for Skill Building: Crafting a bee is a wonderful way to practice smooth color switching, shaping, and embroidering features on plush fabric.
Design and Color Change Tips for Best Results
Achieving crisp, clean stripes on your crochet bee comes down to mastering the color change technique. Working with textured velvet or chenille yarn produces a dense, soft finish, but keeping your joins neat is essential.
How to Make Invisible Color Changes
When switching between yellow and black yarn, always perform the final yarn-over of the last stitch in the old color using the new color. Pull the new shade through the remaining two loops on your hook to complete the stitch. This simple trick prevents harsh color jogs and ensures your stripes transition smoothly around the body.
Tension and Stuffing Guidelines
Maintain a firm, even tension throughout the project. If your stitches are too loose, the white polyester fiberfill might show through the dark black rounds. To maintain a smooth cylindrical shape, add small pinches of stuffing gradually as you close up the tail end of the bee, paying special attention to filling out the nose and base evenly.
Yarn Substitutions and Material Alternatives
While super bulky chenille yarn (such as Katia Alabama or Hobbii Baby Snuggle) gives the bee its classic squishy plushie look, this pattern adapts beautifully to different yarn weights:
- Worsted Weight Cotton Yarn: Swap plush yarn for worsted cotton and a 2.5 mm or 3.0 mm hook to craft tiny pocket-sized bees that make wonderful keychains, bag charms, or desk companions.
- Fun Color Variations: Who says bees have to be black and yellow? Try crafting “pastel bees” using pink and white, or mint green and beige, for a whimsical, dreamy aesthetic.
- Wing Textures: You can use plush yarn for fuzzy wings, or swap to a thinner acrylic or cotton thread for delicate, semi-sheer wings.
More Patterns
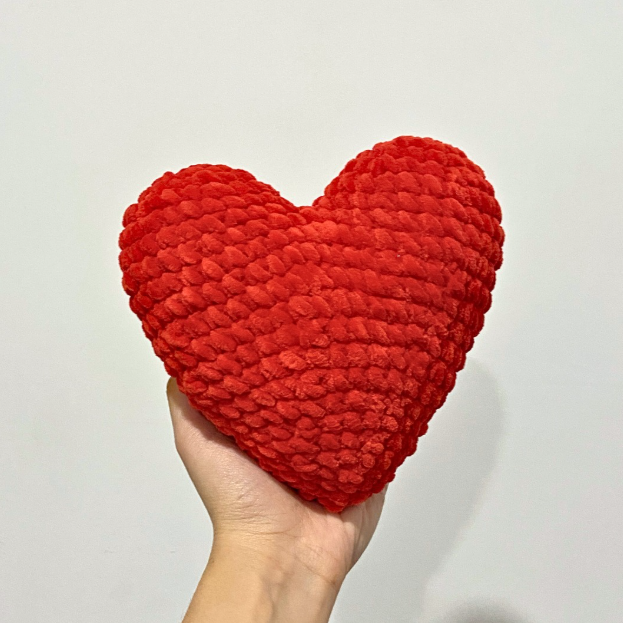
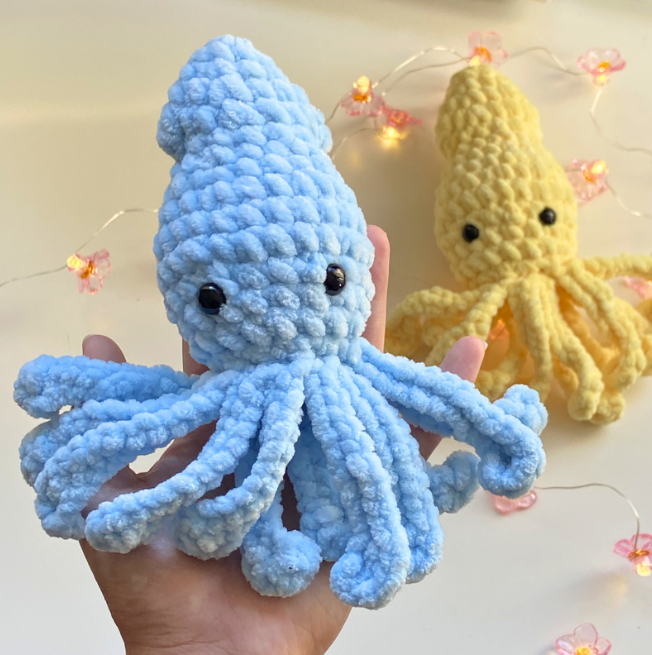
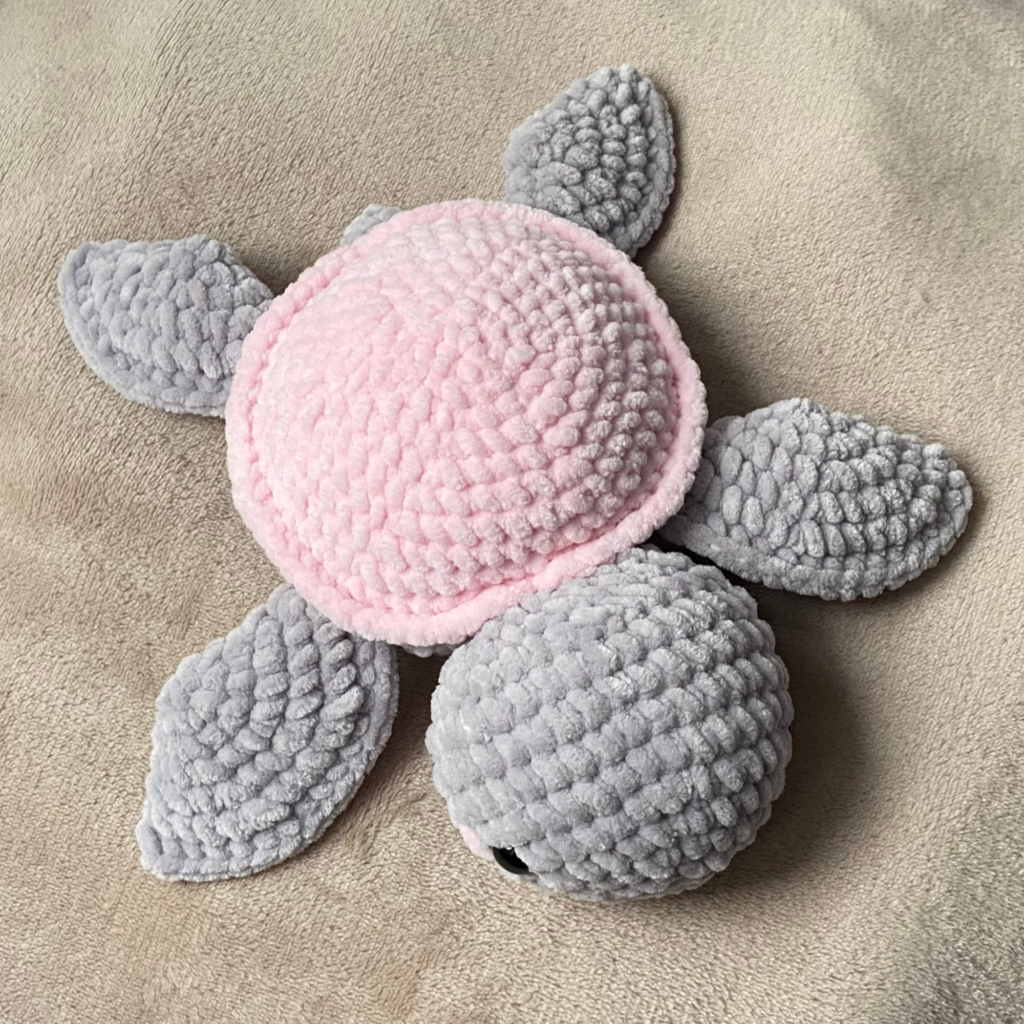
Take a look on these crochet patterns:
Materials Needed
- Yarn: DMC chenille yarn (or any plush velvet yarn of preference) in Yellow, Black, and White.
- Crochet Hook: 3 mm hook (or a size suitable for your chosen yarn).
- Stitch markers.
- Scissors.
- Blunt sewing needle.
- Eyes: 4 mm safety eyes.
- Stuffing: Synthetic cotton filler (polyfill).
Abbreviations (US Terms)
- MR: Magic ring
- St: Stitch
- Sc: Single crochet
- Inc: Increase
- Dec: Decrease
- CC: Change color
- FO: Fasten off
- FLO: Front loops only
Not ready to start right now?
Join the community & get a free pattern!
Free Bee Crochet Pattern
Crocheting the Body
Start with yellow yarn.
Round 1: 6 sc in a MR (6)
Round 2: x6 inc (12) (two single crochets in each stitch around)
Round 3: (1 inc, 1 sc) x6 (18)
Round 4: (1 inc, 2 sc) x6 (24)
Round 5: (1 inc, 3 sc) x6 (30)
Rounds 6-9 (4 rounds): 30 sc. CC to black yarn in the last stitch of R9 (30)
Rounds 10-11 (2 rounds): 30 sc. CC to yellow in the last stitch of R11 (30)
Rounds 12-13 (2 rounds): 30 sc. CC to black yarn in the 30th stitch of R13 (30)
Insert safety eyes between R4 and R5, placing them about 7 stitches apart.
Rounds 14-15 (2 rounds): 30 sc. CC to yellow yarn in the 30th stitch of R15 (30)
Round 16: (1 dec, 3 sc) x6 (24)
Round 17: (1 dec, 2 sc) x6 (18)
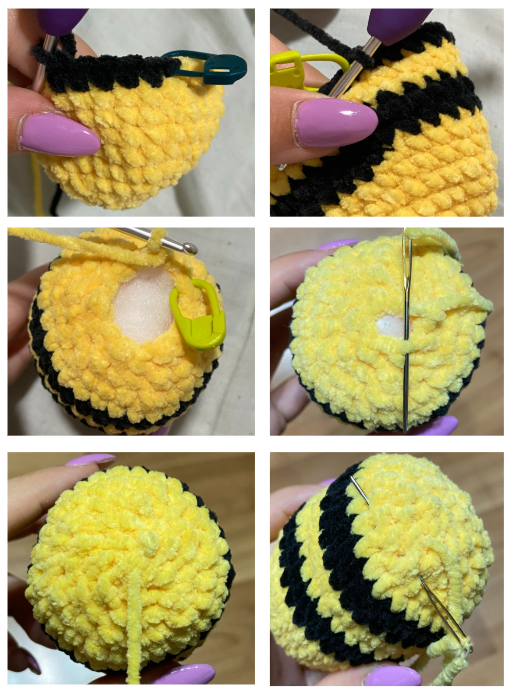
Fill the plushie with stuffing.
Round 18: (1 dec, 1 sc) x6 (12)
Round 19: x6 dec (6)
FO, leaving a long tail. Weave the needle through the FLO of the remaining 6 stitches and pull tight to close the hole. Hide the yarn tail inside the plushie.
Crocheting the Wings (Make 2)
Start with white yarn.
Round 1: 6 sc in a MR (6)
Round 2: x6 inc (12)
Round 3: (1 inc, 1 sc) x6 (18)
Round 4: 18 sc (18)
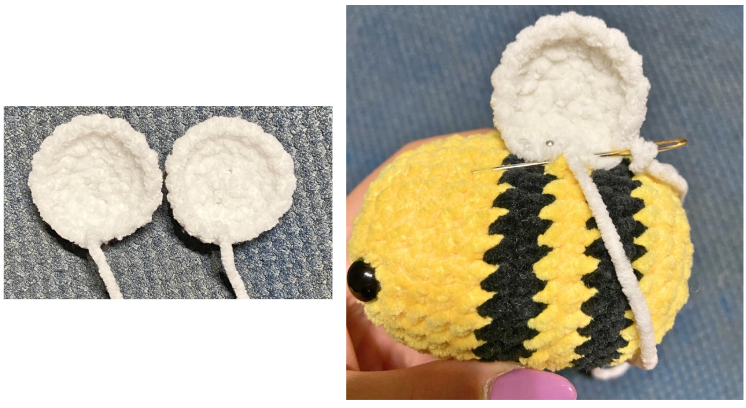
Sl st, FO, and leave a long tail for sewing.
Sew both wings securely to the upper middle section of the bee’s body.
Finishing Touches and Safety Advice
When attaching the wings, position them symmetrically on top of the body over the black stripes, angling them slightly backward for a cheerful, flying pose. Use a tapestry needle and matching white yarn to secure them firmly. You can also embroider cute pink cheeks using blush yarn or add a sweet smile under the eyes.
Safety Note: If you are gifting or selling this plush bee to babies, toddlers, or young children, we strongly recommend embroidering the eyes with black yarn instead of using plastic safety eyes to eliminate any choking hazards.
And that’s it!
I hope you enjoyed crocheting this free bumblebee crochet pattern just as much as I loved designing it. If you decide to make one, I would love to see how it turns out—don’t forget to tag me on Instagram (@crochetbysilvia) so I can admire your cute amigurumi!
Your support means the world and helps me keep creating and sharing more free patterns with you!
Frequently Asked Questions About This Pattern
Yes! This pattern uses basic amigurumi stitches, including the magic ring, single crochet, increases, and decreases. It is a fantastic starting point for beginners learning how to change yarn colors.
Thanks to the bulky plush yarn, most crocheters can finish a complete bee in roughly 45 to 60 minutes.
Absolutely! You are welcome to sell finished plushies created using this free pattern at craft markets or online shops. Don’t use the original photos as your listing pictures.
Don’t doubt to check our other free crochet patterns.
Happy crocheting!
This pattern is for personal use only. You may not copy, reproduce, alter, publish, or distribute this pattern in any format (including video tutorials). If you wish to share this pattern, please share a link to it rather than reprinting it on your site or blog.
You are welcome to sell finished items made from this pattern in small quantities, but do NOT use my photos as your listing or promotional photos. Please credit Crochet by Silvia as the designer.
If you loved this free bee crochet pattern, check out my other free patterns like the turtle crochet pattern or the jellyfish crochet pattern!