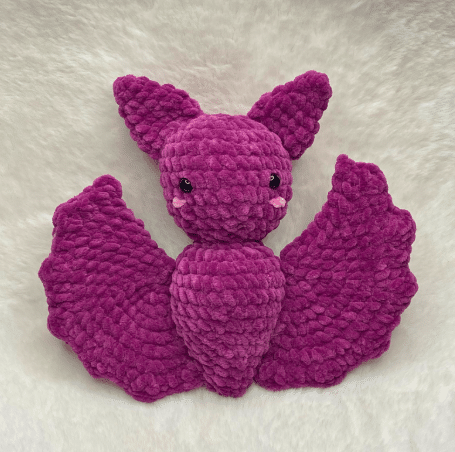
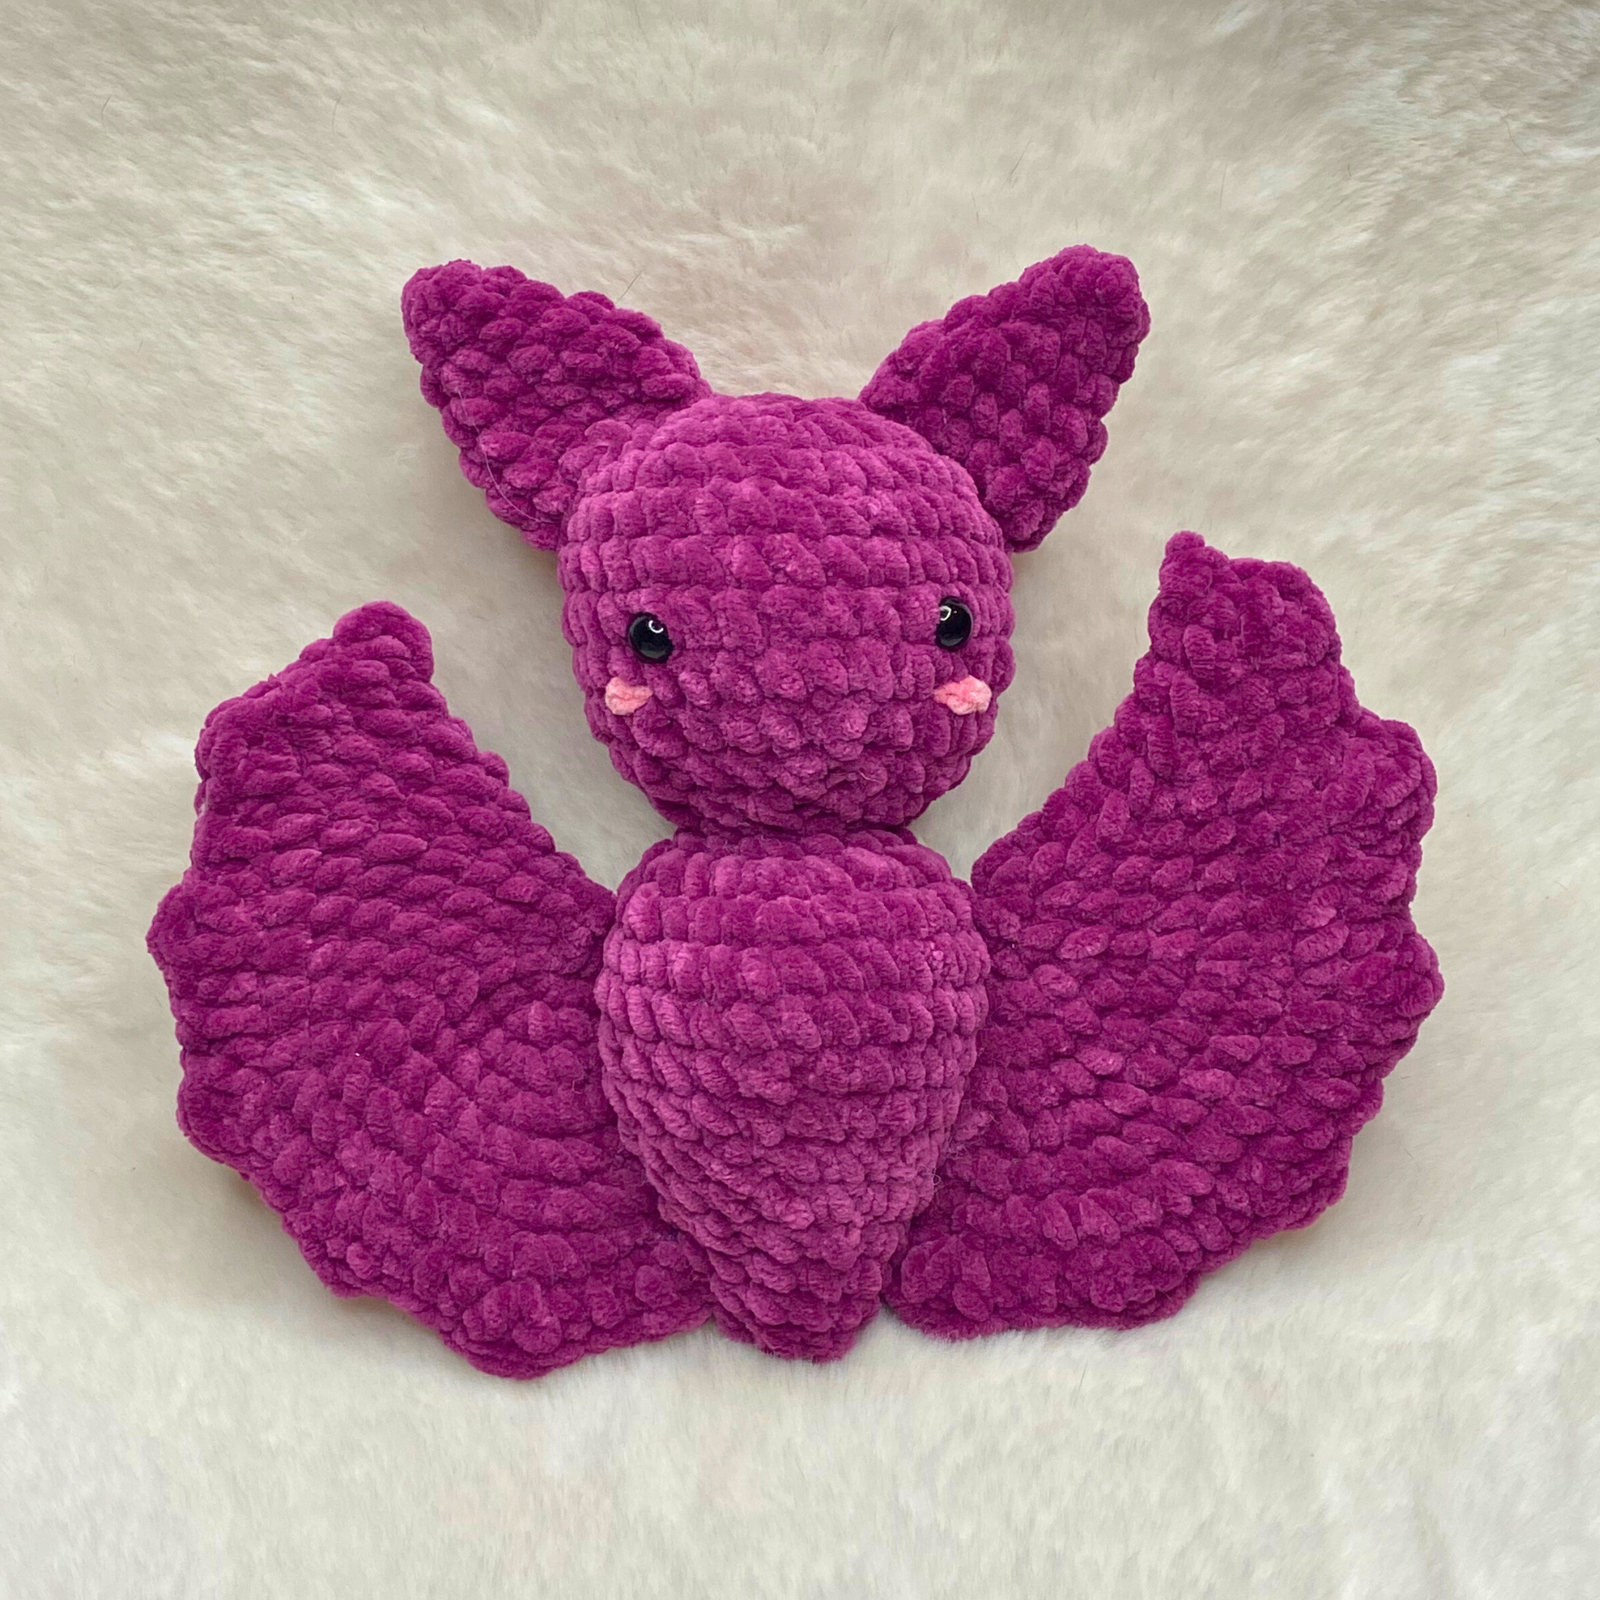
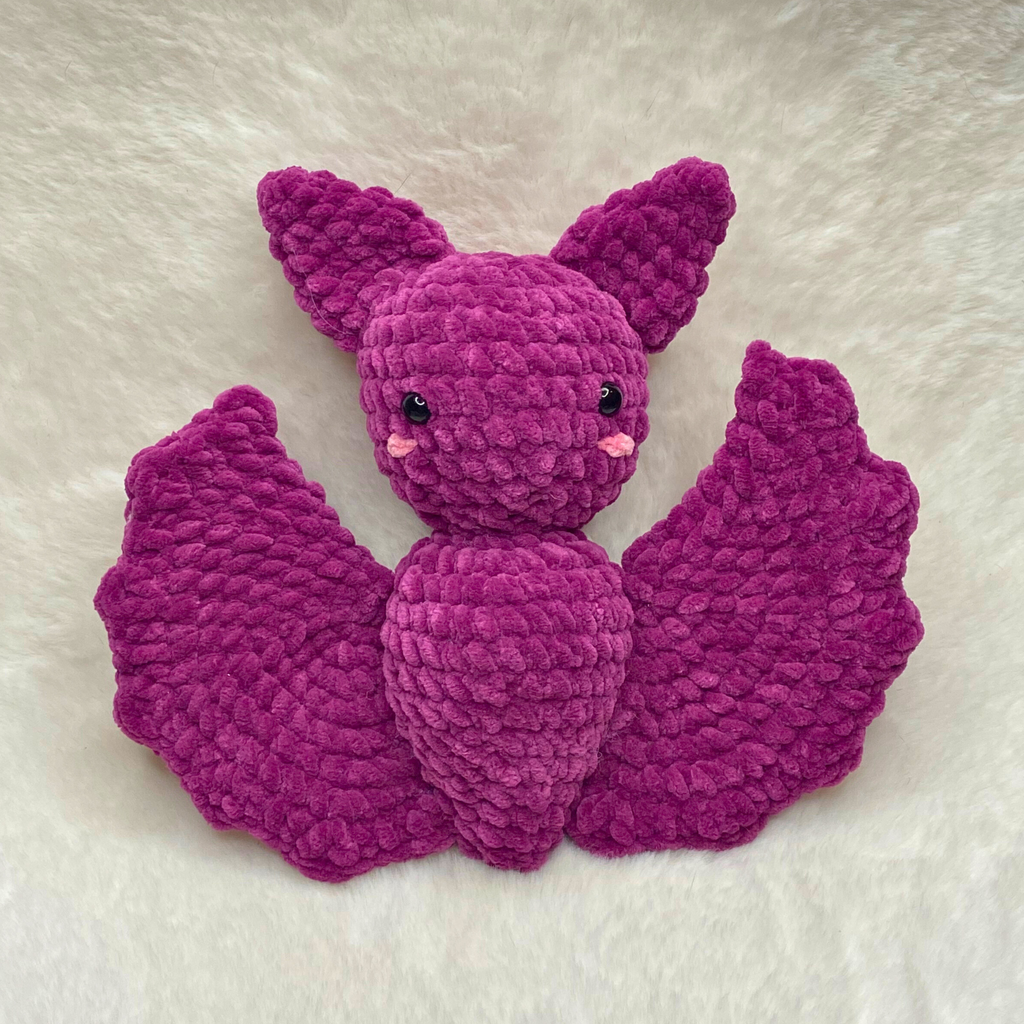
There is nothing quite like welcoming the spooky season with a handmade, plush amigurumi project. Whether you are decorating your home for Halloween, prepping your inventory for autumn craft fairs, or looking for a fast weekend project, this free plush bat crochet pattern is designed to deliver maximum cuteness with minimal hassle.
Using super bulky plush yarn, this adorable little bat works up in less than two hours. Its chubby, round body, oversized wings, and tiny pointed ears make it a fan favorite for crocheters of all skill levels. In this comprehensive guide, we will cover everything from selecting the best yarn and safety eyes to assembly tips and step-by-step instructions so you can whip up an entire colony of plush bats in no time.
Get the Ad-Free Printable PDF Pattern!
Prefer to download or print this pattern? You can now download the ad-free, printable PDF version of this pattern directly on Etsy! Instant download are available on Etsy right after purchase.
Shop the Crochet Bat PDF Pattern on EtsyWhy You Will Love This Easy Bat Pattern
- Beginner-Friendly: Uses basic stitches like single crochet, increases, and decreases.
- Quick Work-Up: Thanks to super bulky chenille yarn and a large hook, you can finish one bat in under 90 minutes.
- Low-Sew Elements: The head and body are worked in one continuous piece to minimize sewing.
- Highly Customizable: Looks incredible in classic Halloween colors like purple and black, but equally sweet in pastel pinks, mint green, or neutral grey.
- Perfect Market Prep: Their squishy size and fast completion time make them high-margin bestsellers for market vendors.
Materials and Tools Needed
To achieve the softest, most huggable finish, we recommend using plush chenille or velvet yarn. However, worsted weight yarn with a smaller hook can also be used if you prefer miniature amigurumi.
- Yarn: Super bulky weight yarn (Category 6) in purple (main body, wings, and outer ears) and black or dark accent colors (inner ears and wing details).
- Crochet Hook: 4.0 mm or 4.5 mm aluminum crochet hook (or size needed to obtain tight stitches without gaps).
- Safety Eyes: 12 mm or 14 mm safety eyes (black or glitter eyes work great).
- Stuffing: Premium polyester fiberfill.
- Tapestry Needle: Yarn needle with a blunt tip and large eye for assembly.
- Stitch Marker: Essential for tracking the start of each continuous round.
- Scissors: Sharp craft scissors.
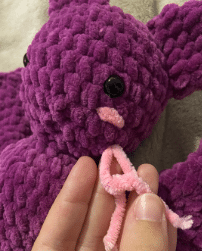
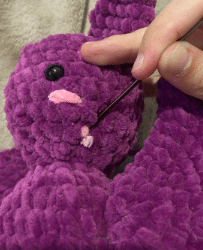
- Optional: Pink embroidery thread or scrap yarn for cute blushed cheeks.
Crochet Abbreviations (US Terminology)
This pattern is written using standard American crochet terminology.
- MR: Magic Ring
- sc: Single Crochet
- inc: Single Crochet Increase (2 sc in the same stitch)
- dec: Single Crochet Decrease (sc 2 stitches together)
- dc: double crochet
- hdc: half double crochet
- ch: Chain
- slst: Slip Stitch
- st / sts: Stitch / Stitches
- FO: Fasten Off
- FLO: front loops only
- ( ) x N: Repeat instructions inside parentheses N times
Sizing and Gauge Notes
When worked with super bulky plush yarn and a 4.0 mm hook, your finished bat will measure approximately:
- Height: ~4 inches (10 cm) from ears to base
- Wingspan: ~7.5 inches (19 cm) from tip to tip
Gauge Note: Exact gauge is not critical for amigurumi. However, your stitches should be tight enough to prevent the polyester fiberfill stuffing from showing through the gaps. If you notice gaps in your work, switch to a smaller hook size.
Assembly and Technique Tips for Plush Amigurumi
- Working with Plush Yarn: Super bulky chenille yarn can shed or snap if pulled too tightly when closing a Magic Ring. If you struggle with the Magic Ring using plush yarn, chain 2 and work Round 1 into the second chain from your hook.
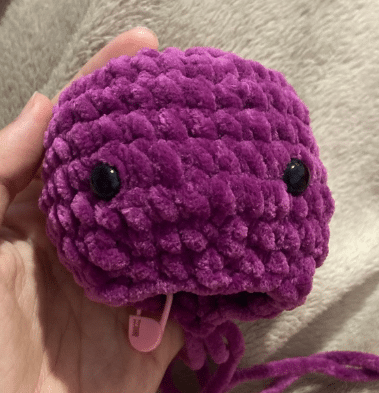
- Safety Eye Placement: Insert safety eyes between Rounds 8 and 9 of the head, leaving about 4 to 5 visible stitches between them. Always secure the backings before stuffing the head completely.
- Firm Stuffing: Stuff the head and body firmly, paying extra attention to the neck transition area so the finished bat holds its round shape over time.
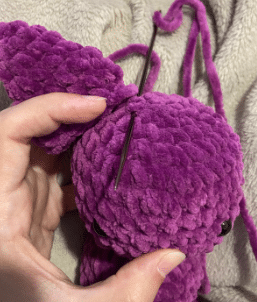
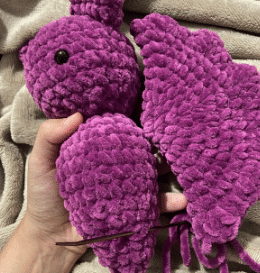
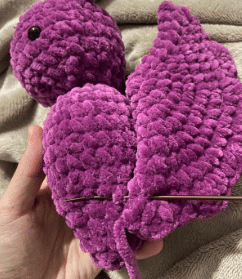
- Symmetrical Wing Placement: Pin the wings to the sides of the body before sewing. Check alignment from both the front and top views to ensure they sit evenly.
More Patterns
If you’re looking for more patterns, take a look:
Join the community & get a free pattern!
Get the Ad-Free Printable PDF Pattern!
Prefer to download or print this pattern? You can now download the ad-free, printable PDF version of this pattern directly on Etsy! Instant download are available on Etsy right after purchase.
Shop the Crochet Bat PDF Pattern on EtsyFree Bat Crochet Pattern
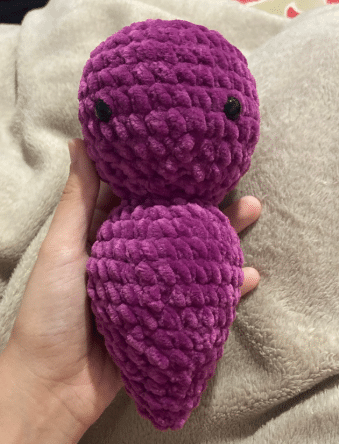
Crocheting the Head and Body
Start in purple yarn:
Round 1: 6 sc in a MR (6)
Round 2: x6 inc (12)
Round 3: (sc, inc) x6 (18)
Round 4: (2 sc, inc) x6 (24)
Round 5: (3 sc, inc) x6 (30)
Rounds 6-10: (5 rounds): 30 sc (30)
Round 11: (3 sc, dec) x6 (24)
Round 12: (2 sc, dec) x6 (18)
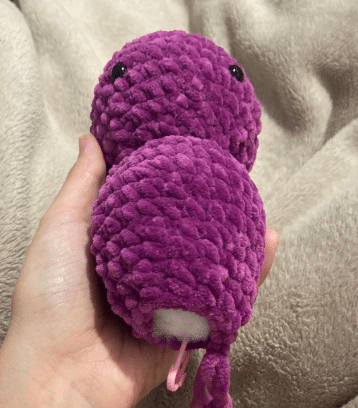
Place security eyes between R8 and R9, 7 stitches apart.
Round 13: (sc, dec) x6 (12)
Round 14: 12 sc (12)
Round 15: (sc, inc) x6 (18)
Round 16: (2 sc, inc) x6 (24)
Round 17: (3 sc, inc) x6 (30)
Rounds 18-19 (2 rounds): 30 sc (30)
Round 20: (3 sc, dec) x6 (24)
Round 21: 24 sc (24)
Round 22: (2 sc, dec) x6 (18)
Round 23: 18 sc (18)
Round 24: (sc, dec) x6 (12)
Round 25: 12 sc (12)
Round 26: x6 dec (6)
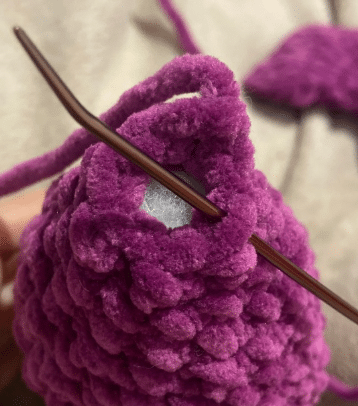
Sew the six stitches FLO, pull the yarn to close the hole and hide yarn inside.
Crocheting the Wings (Make 2)
Start in purple yarn:
Round 1: 6 sc in a MR (6)
Round 2: x6 inc (12)
Round 3: (sc, inc) x6 (18)
Round 4: (2 sc, inc) x6 (24)
Round 5: (3 sc, inc) x6 (30)
Round 6: (4 sc, inc) x6 (36)
Round 7: (5 sc, inc) x6 (42)
Round 8: (6 sc, inc) x6 (48)
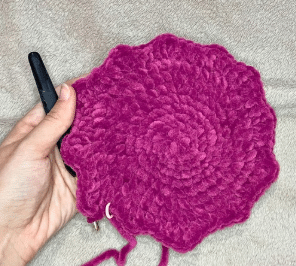
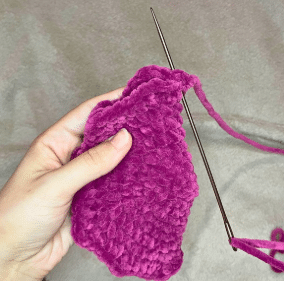
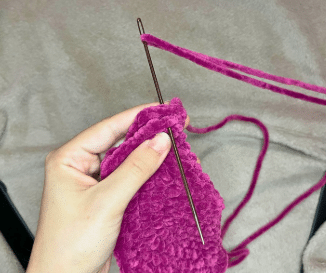
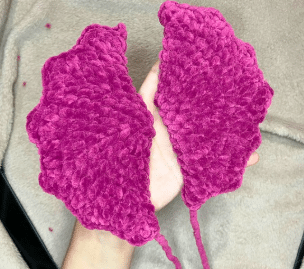
Round 9: (sc in next st, hdc in next st, in next st: (hdc, dc, hdc), then hdc in next st), repeat this entire sequence twelve times in total.
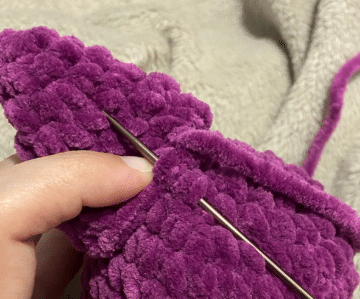
After finishing round 9, make a sc in next st, then a slst in next st, then fold in half and sew through the border with a needle, and don’t forget to leave a long tail for sewing after to the body.
Crocheting the Ears (Make 2)
Start in purple yarn:
Round 1: 4 sc in a MR (4)
Round 2: (sc, inc) x2 (6)
Round 3: (2 sc, inc) x2 (8)
Round 4: (3 sc, inc) x2 (10)
Round 5: (4 sc, inc) x2 (12)
Round 6: (5 sc, inc) x2 (14)
Round 7: (5 sc, dec) x2 (12)
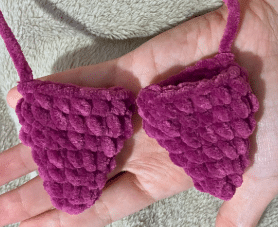
Fasten off, leaving a long yarn tail for sewing. Do not stuff the ears. Flatten them before assembling.
Final Assembly Step-by-Step
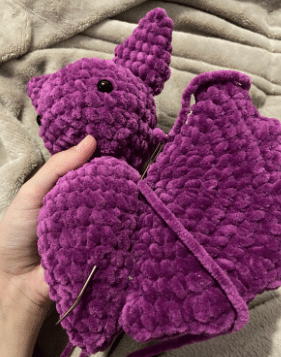
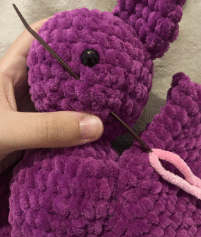
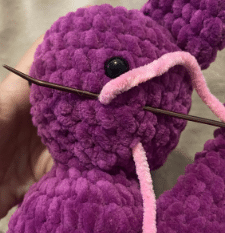
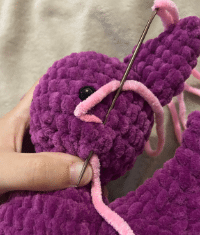
- Attach the Ears: Position the ears on top of the head between R2 and R5. Sew securely using the long yarn tails, ensuring they curve slightly forward.
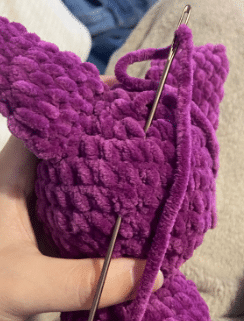
- Attach the Wings: Pin each wing to the sides of the body between R12 and R15. Sew along the flat edge of the wings so they stay flush against the body or flare out slightly.
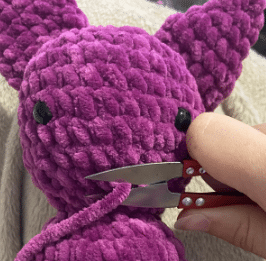
- Add Final Touches: Check all yarn tails, knot them securely inside the body, and trim any excess yarn. Give your new plush bat a gentle squeeze to shape!
Frequently Asked Questions About This Pattern
Yes! If you use Category 4 worsted weight cotton or acrylic yarn with a 2.5 mm or 3.0 mm hook, your bat will turn out as a cute miniature plushie measuring roughly 2 inches tall.
Use a hook size that is 1.0 mm to 1.5 mm smaller than what is recommended on the yarn label. Maintaining consistent, tight tension is key to hiding stuffing.
Yes! You are welcome to sell physical plushies handmade using this pattern. Please credit Crochetbysilvia as the designer and link back to this blog post if selling online.
Share Your Finished Bat Plushie!
We love seeing your creations! If you craft a plush bat using this free pattern, share your work on Instagram and tag @crochetbysilvia so we can feature your plushie in our community highlights. Happy crocheting!