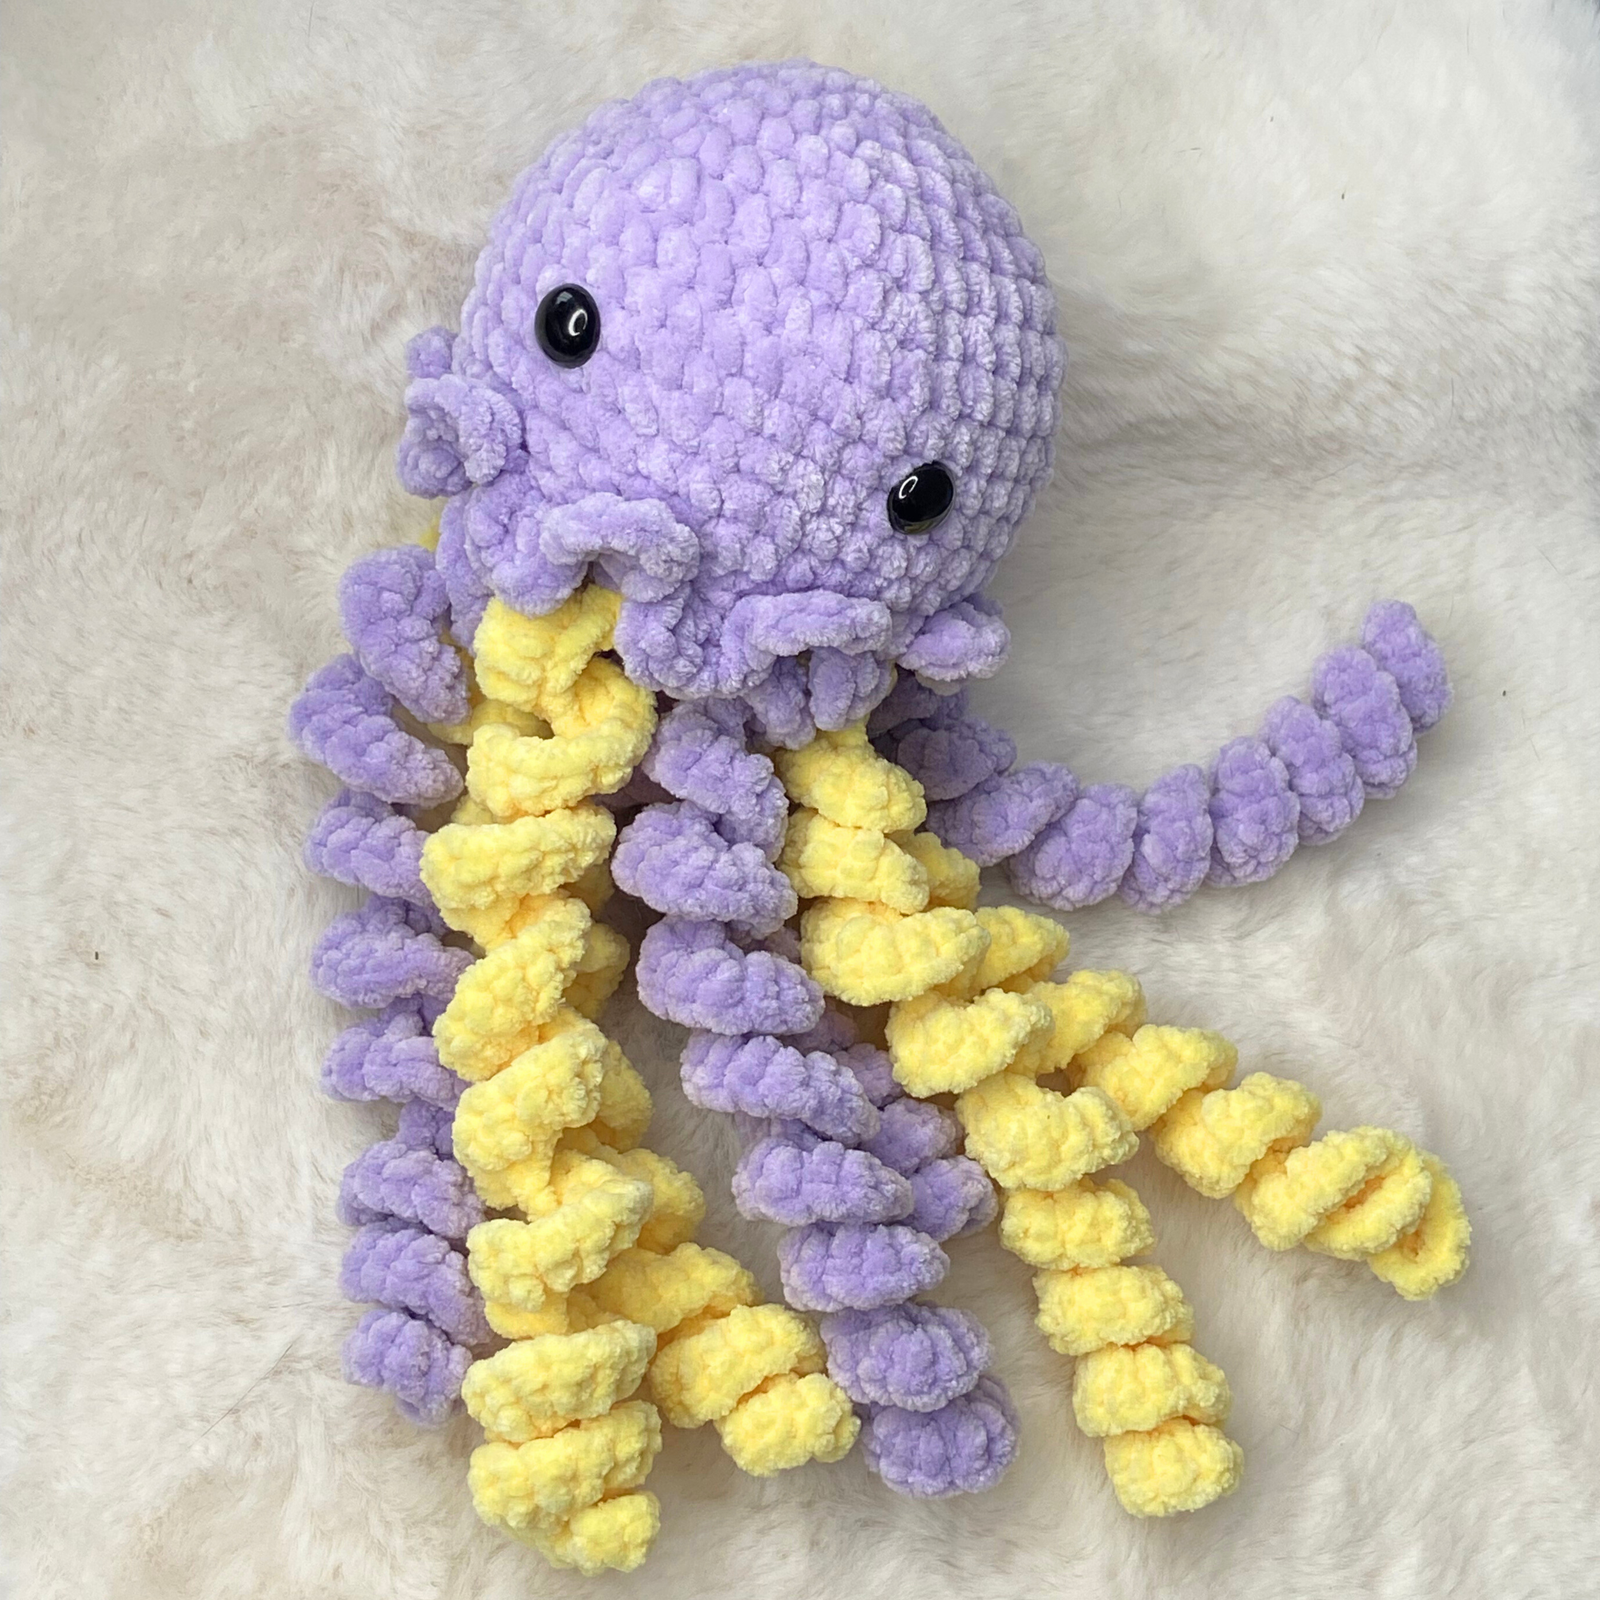
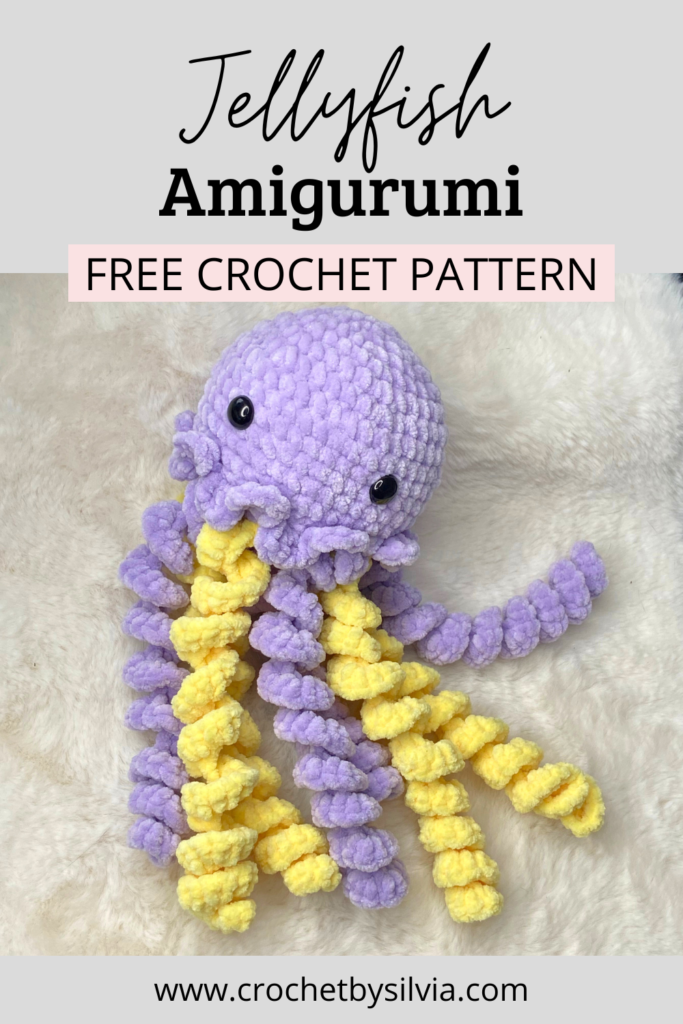
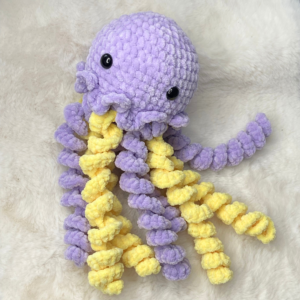
If you are looking for a satisfying, adorable, and completely seamless project, this free no-sew jellyfish crochet pattern is an absolute must-try! With its cute rounded dome and flowing curly tentacles, this plush ocean creature brings instant charm to any amigurumi collection. Best of all, because it is crafted entirely in one piece with zero sewing required, you can finish a complete jellyfish in well under an hour.
Keep scrolling for the free pattern or purchase the printable PDF pattern on Etsy (50% off)
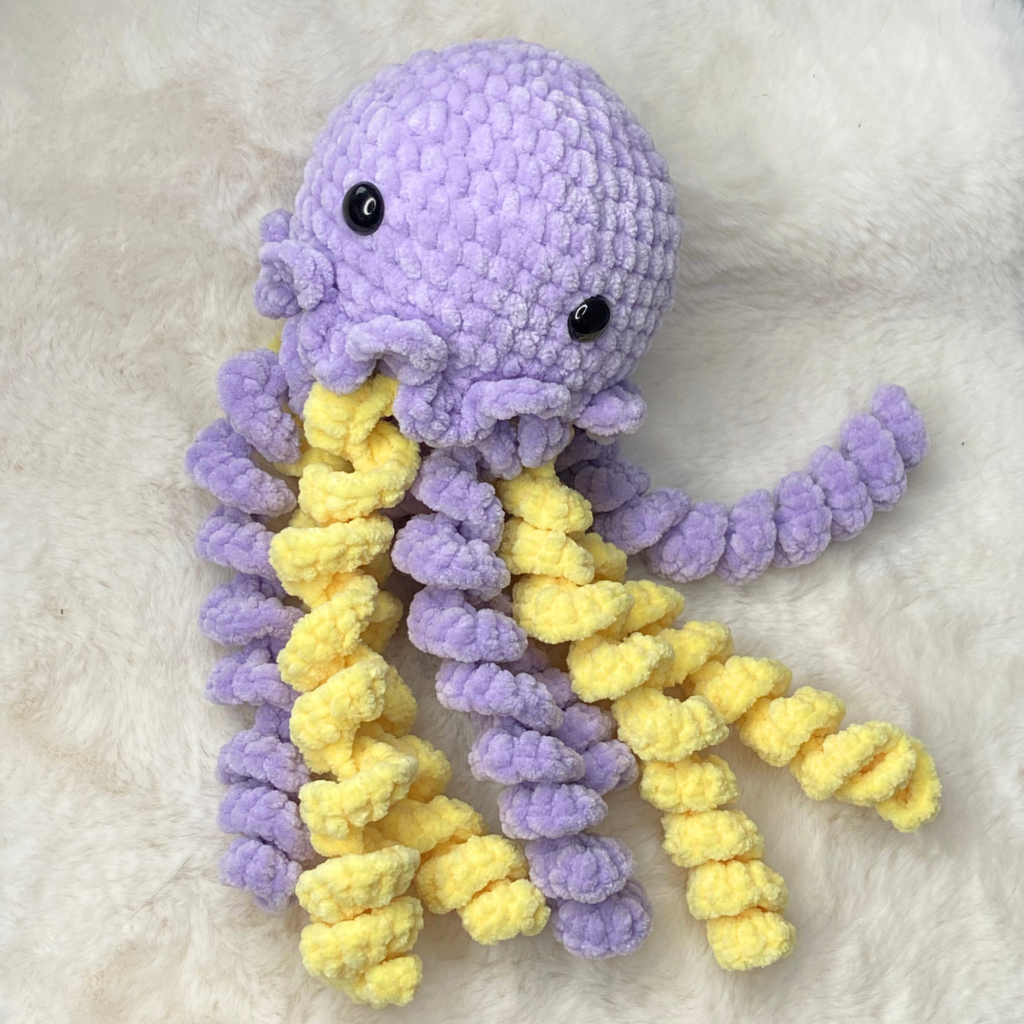
No-sew amigurumi patterns are incredibly popular among crocheters of all skill levels. Eliminating the need to align and attach small limbs makes the crafting process smooth, stress-free, and perfect for fast production. Whether you are stocking up your booth for an upcoming craft market, creating colorful party favors, or looking for a fun yarn-buster project, this step-by-step tutorial will guide you through making your own squishy jellyfish with ease.
Get the Ad-Free Printable PDF Pattern!
Prefer to download or print this pattern? You can now download the ad-free, printable PDF version of this pattern on Etsy! Instant delivery right after checkout. Get it on Etsy here
Shop on EtsyWhy You Should Crochet a No-Sew Jellyfish Today
Plush jellyfish have become a massive hit in the handmade plushie community, and for good reason! Here is why this pattern will quickly become one of your favorite go-to projects:
- Zero Assembly Required: The biggest advantage of this pattern is that the tentacles and body are worked as a continuous piece. No tapestry needles or tricky alignment needed!
- Lightning-Fast Craft Time: Thanks to the clever construction and bulky chenille yarn, you can easily complete a plush jellyfish in just 40 minutes to 1 hour.
- Versatile Hanging Decoration: Add a simple yarn loop or keychain ring to the top of the dome to transform your plushie into a cute car hanger, bag charm, or nursery mobile accessory.
- Endless Color Combinations: From pastel gradients to bold neon shades, jellyfish look stunning in any yarn color. It is a fantastic project for using up leftover yarn scraps from larger plushie builds.
Design and Yarn Notes for Best Results
Working with plush or velvet chenille yarn gives the jellyfish its signature soft, squishy appearance. However, keeping an even tension and clear stitch count is key to ensuring the dome holds a smooth, rounded shape without gaps.
Creating Bouncy Tentacles
The distinctive curl of the jellyfish tentacles is achieved by placing multiple stitches into a single chain space. As you work through the chain, the yarn naturally coils into a spring-like shape. To ensure your tentacles hang evenly, make sure not to twist the foundation chain as you work your first round of stitches.
Tension and Fiberfill Tips
When working in the round with super bulky yarn, aim for a tight, firm tension. If your stitches are too loose, the white polyester fiberfill may become visible through the fabric. If you notice small holes appearing, consider downsizing your crochet hook by half a millimeter. When filling the main dome, add small amounts of fiberfill gradually before closing the base to prevent lumps and maintain a symmetrical silhouette.
Yarn Substitutions
While super bulky plush or chenille yarn (such as Katia Alabama or Hobbii Baby Snuggle Solid) gives this jellyfish its signature soft and squishy texture, this pattern is incredibly versatile and works well with a variety of yarn weights:
- Worsted Weight Cotton or Acrylic Yarn: If you prefer a smaller, firm, and traditional amigurumi look, swap the plush yarn for worsted weight yarn paired with a 2.5 mm or 3.0 mm crochet hook. This creates a miniature jellyfish that is perfect as a keychain or bag charm.
- Velvet or Blanket Yarn: For an extra-large, ultra-plush toy, you can use jumbo blanket yarn with an 8.0 mm or 10.0 mm hook. The pattern steps remain identical, but the final plushie will turn out twice the size!
- Color Gradient & Self-Striping Yarn: Jellyfish look magical when crafted with multi-colored or ombre yarns. The continuous construction of the tentacles allows color transitions to pop naturally without needing to weave in multiple ends.
Note on Hook Sizing: Whenever you change yarn weights, always adjust your hook size accordingly. As a general rule for amigurumi, choose a hook that is 0.5 mm to 1.0 mm smaller than the size recommended on the yarn label to keep your stitches tight and prevent fiberfill leakage.
More Patterns
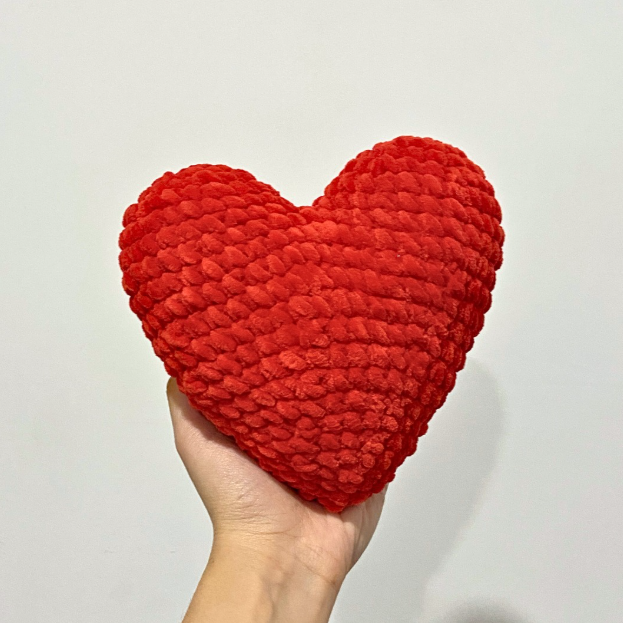
Take a quick look on these crochet patterns too:
Materials needed
- Super bulky yarn in the following colors: Purple (for the body and tentacles), yellow (for the tentacles)
- 4.5 mm crochet hook
- Stitch marker
- Scissors
- Tapestry needle
- Safety eyes (13 mm)
- Fiberfill stuffing
Finished Size
It measures approximately 30 cm (12 in) long and 11 cm (4.3 in) wide when using a 4.5 mm hook and super bulky yarn.
Abbreviations (US Terms)
- MR: magic ring
- St: stitch
- Sc: single crochet
- Dc: double crochet
- Inc: increase
- Dec: decrease
- Sl st: slip stitch
- st(s): stitch(es)
- Ch: chain
- FO: fasten off
- FLO: front loops only
- BLO: back loops only
Special Stitches
Double Crochet (dc)
Yarn over, insert your hook into the stitch, yarn over and pull up a loop (3 loops on hook). Yarn over, pull through 2 loops, yarn over again and pull through the remaining 2 loops.
Not ready to start right now?
No-Sew Jellyfish Crochet Pattern
Crocheting the tentacles (Make 8)
Start with the desired color for each tentacle. Four in yellow and four in purple are recommended.
Ch40 (adjust length as needed, keeping in mind they will curl up and shorten).
Round 1: From the 2nd ch from the hook, work (inc, 3 sc in next st) repeating this sequence across the chain.
FO, leaving both yarn tails for attaching later to the jellyfish.
Crocheting the Head
Start with the main color (purple).
Round 1: 6 sc in a MR (6)
Round 2: inc around (12)
Round 3: (sc, inc) x6 (18)
Round 4: (2 sc, inc) x6 (24)
Round 5: (3 sc, inc) x6 (30)
Round 6: (4 sc, inc) x6 (36)
Round 7: (5 sc, inc) x6 (42)
Rounds 8-13 (6 rounds): sc around (42)
Round 14: (5 sc, dec) x6 (36)
Place safety eyes between R10 and R11, about 9 stitches apart.
Round 15: Mark the first back loop of this round with a stitch marker. Then, working in
front loops only (FLO): (ch 2, 2 dc in same st, ch 2, slst in next st) x18.
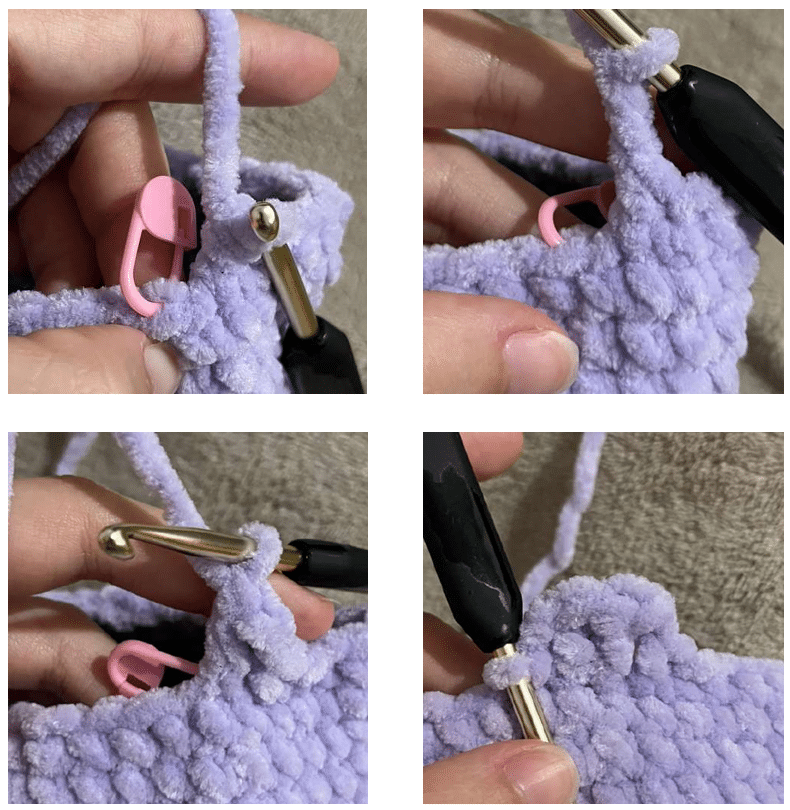
Round 16: Working in the back loops left free in the previous round: (4 sc, dec) x6 (30)
Round 17: (3 sc, dec) x6 (24)
Attach the eight tentacles to R17, spacing them with 1 stitch between each. Use
your hook to pull both yarn tails of each tentacle through to the inside of the
jellyfish and tie small knots to secure.
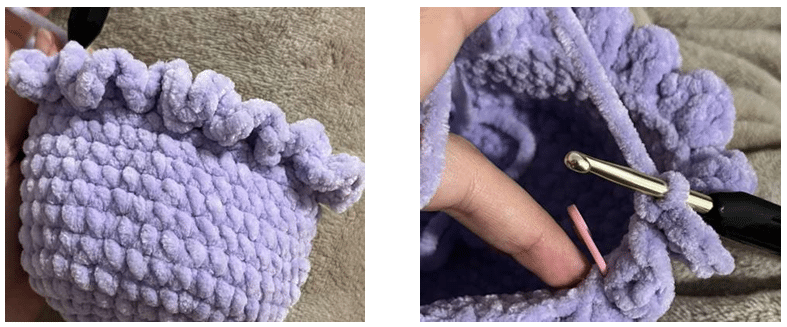
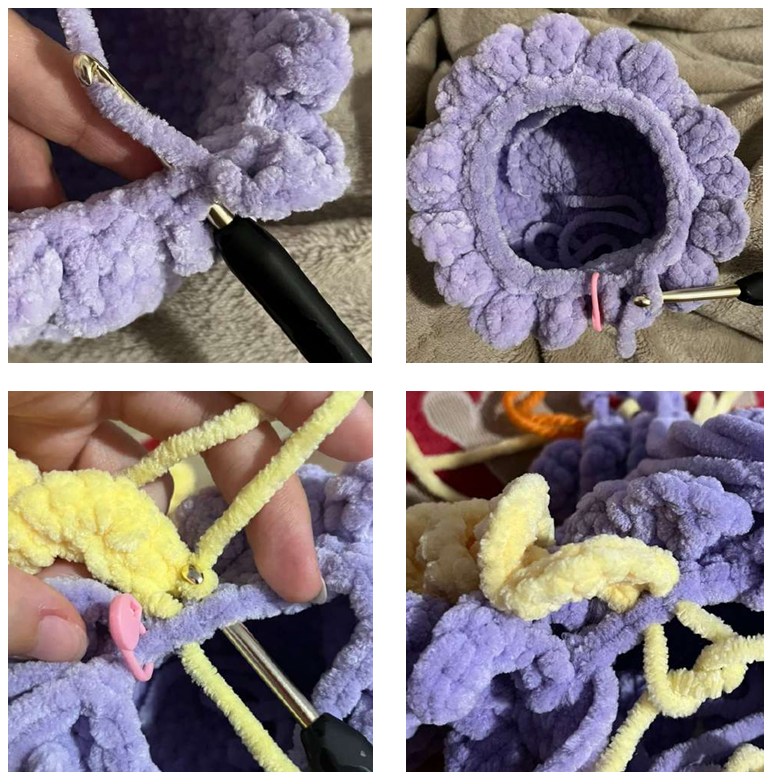
Round 18: (2 sc, dec) x6 (18)
Round 19: (sc, dec) x6 (12)
Round 20: dec around (6)
Sew the remaining stitches closed. FO, and weave in the yarn end inside.
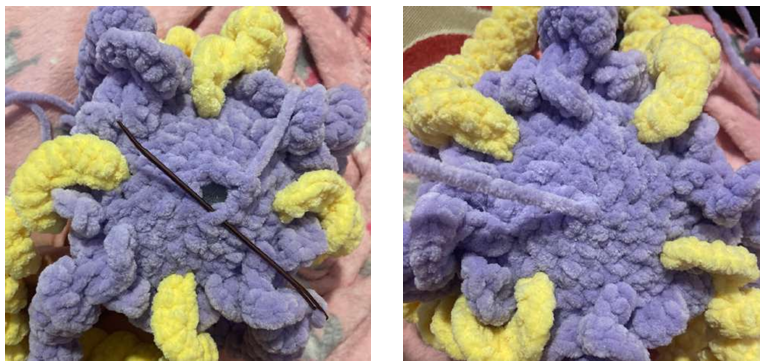
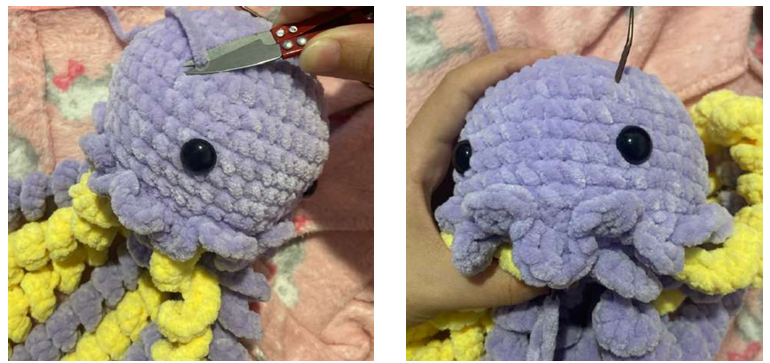
Finishing Touches and Safety Advice
Once you complete the bottom closure of your jellyfish, take a moment to gently pull and twist each tentacle so they curl uniformly. If you want your jellyfish to hang, simply thread a matching piece of yarn through the top center of the dome, tie a secure knot on the inside before stuffing, and leave a loop at the top.
Safety Note: Safety eyes add a charming personality to amigurumi, but if you are gifting or selling this plushie for babies, toddlers, or pets, we strongly recommend embroidering the facial features using black yarn or embroidery floss to prevent any choking hazards.
And that’s it!
I hope you enjoyed crocheting this free no-sew jellyfish crochet pattern just as much as I loved designing it. If you decide to make one, I would love to see how it turns out—don’t forget to tag me on Instagram (@crochetbysilvia) so I can admire your cute amigurumi!
Your support means the world and helps me keep creating and sharing more free patterns with you!
Frequently Asked Questions About This Pattern
Yes! This pattern uses basic amigurumi stitches, including the magic ring, single crochet, chain stitches, and simple decreases. Since there is no sewing involved, it is one of the easiest beginner amigurumi projects available.
Super bulky plush or chenille yarn (like Katia Alabama or Hobbii Baby Snuggle) creates the ultimate squishy plushie. However, you can also use worsted weight cotton yarn with a smaller hook to craft a miniature version.
Yes! You are welcome to sell physical items made using this free pattern at craft fairs, local markets, or online shops. Don’t use the original photos as your listing pictures.
Don’t doubt to check our other free crochet patterns.
Happy crocheting!
This pattern is for personal use only. You may not copy, reproduce, alter, publish, or distribute this pattern in any format (including video tutorials). If you wish to share this pattern, please share a link to it rather than reprinting it on your site or blog.
You are welcome to sell finished items made from this pattern in small quantities, but do NOT use my photos as your listing or promotional photos. Please credit Crochet by Silvia as the designer.
3 thoughts on “Free Jellyfish No-Sew Crochet Pattern (Step-by-Step Amigurumi Tutorial)”