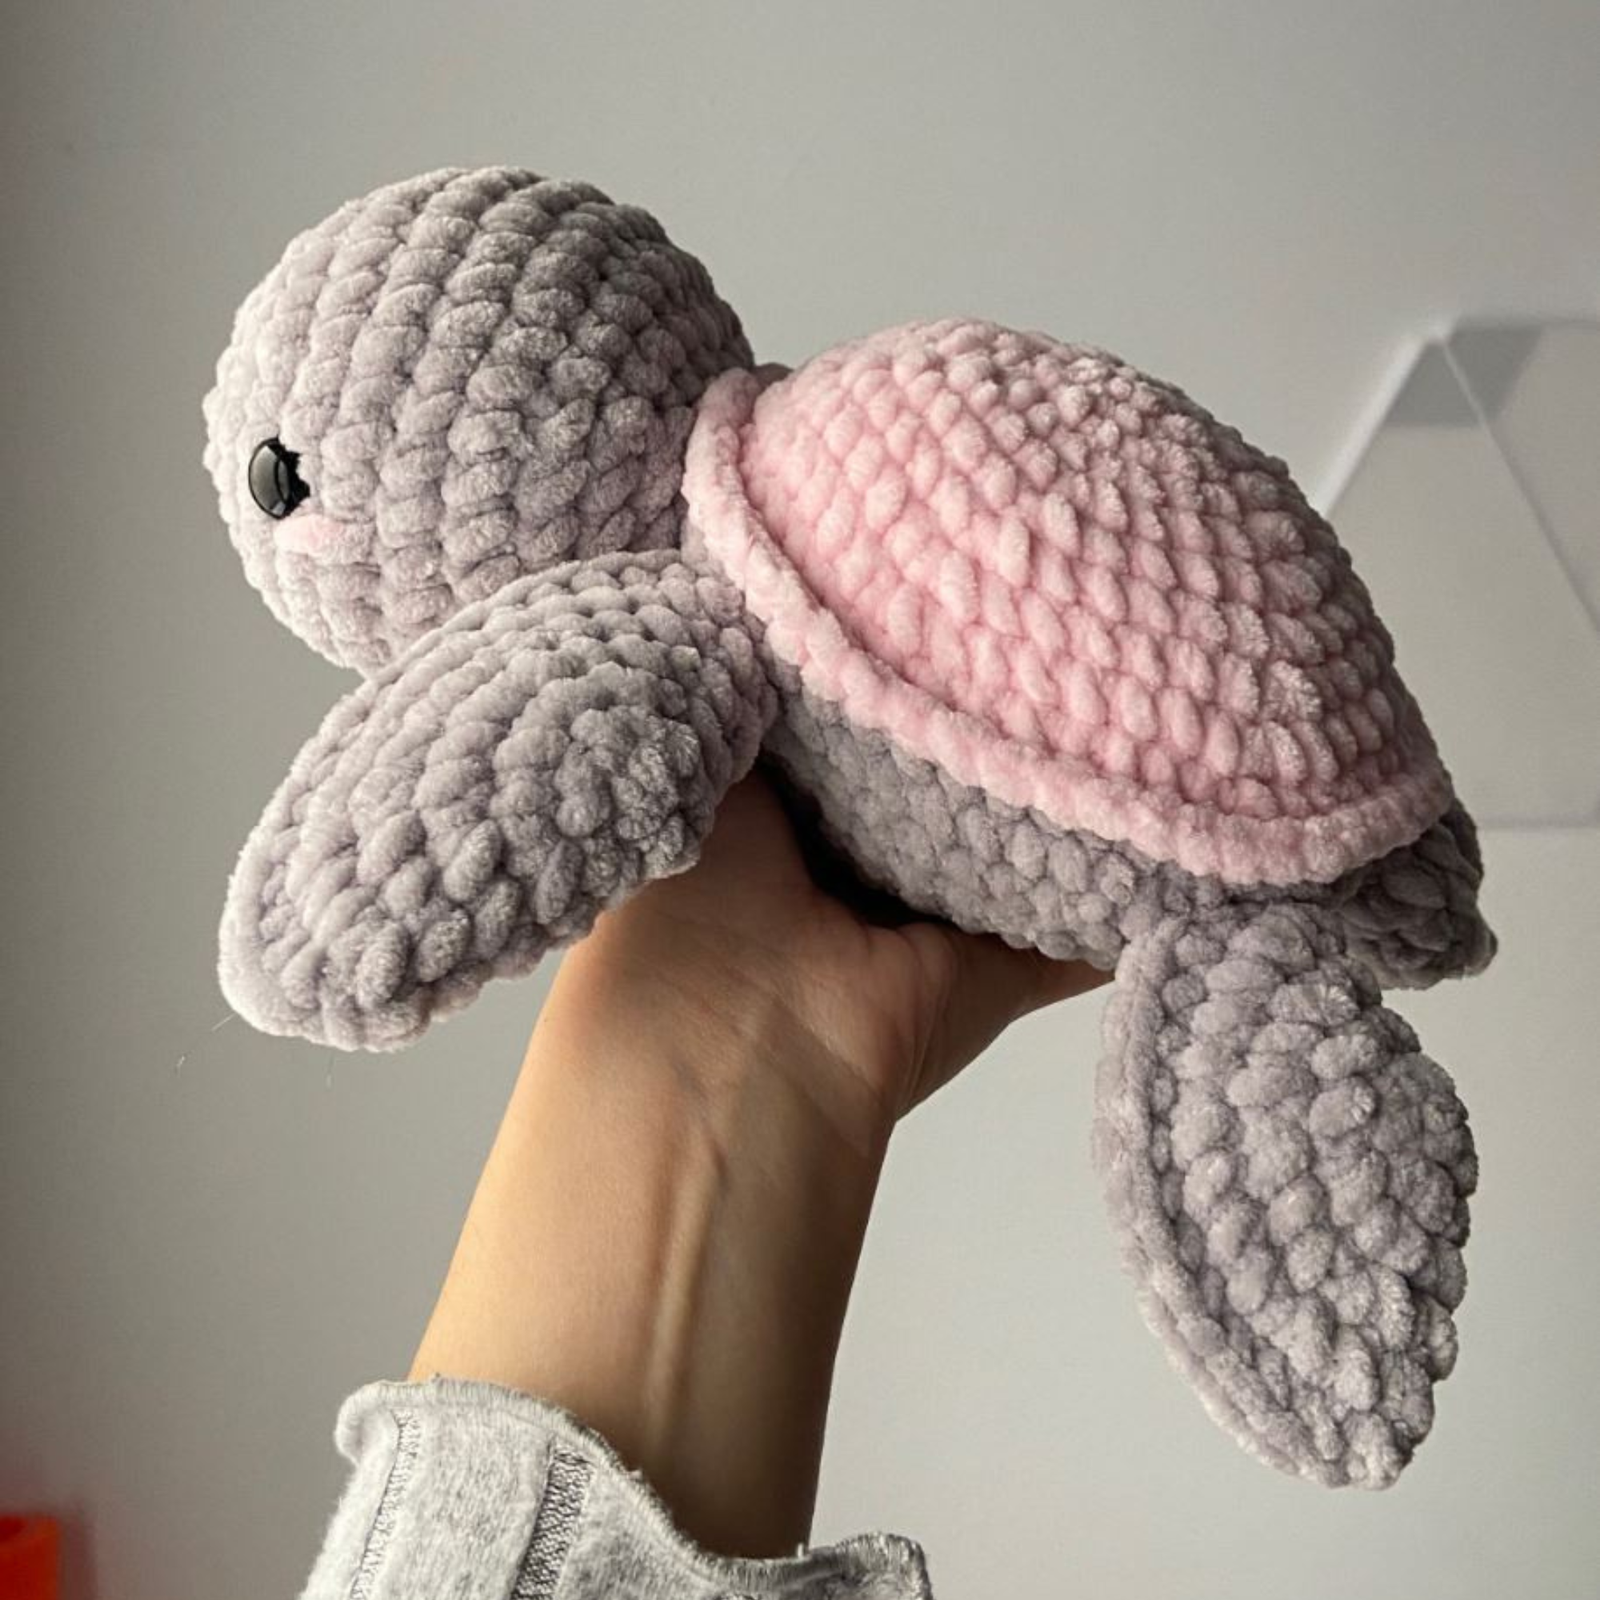
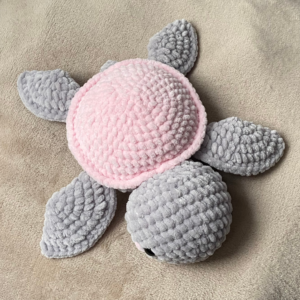
If you are looking for a fast, adorable, and beginner-friendly amigurumi project, this free plush sea turtle crochet pattern is just what you need.
Keep scrolling for the free pattern or purchase the printable PDF pattern on Etsy (50% off)
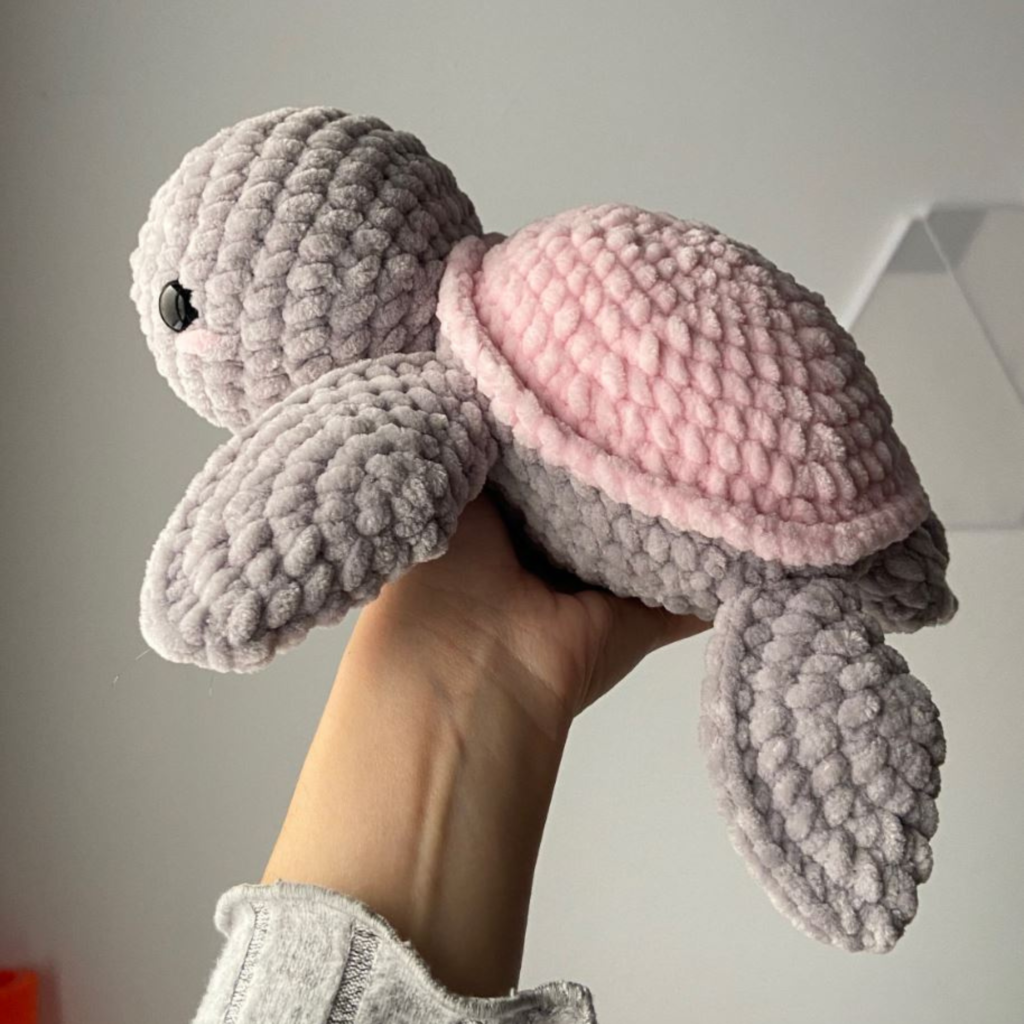
With its squishy texture, rounded shell, and charming flippers, this little turtle has quickly become one of the most popular items to craft. Whether you are prepping stock for your next craft fair, looking for a thoughtful handmade gift, or simply trying to use up leftover velvet yarn from your stash, this pattern comes together in under two hours.
Amigurumi sea turtles are timeless favorite plushies loved by both kids and adults. Also, sea turtles were the first amigurumis I ever made, and I never stopped making them since then. I really love them because I find them adorable and I really like the ocean theme in crochet.
One of the best things about this specific design is its minimal sewing requirement, making the assembly process smooth and hassle-free. In this step-by-step tutorial, you will find a detailed breakdown of the materials, helpful yarn substitute advice, essential techniques for working with plush yarn, and a complete row-by-row guide to bringing your own ocean friend to life.
Get the Ad-Free Printable PDF Pattern!
Prefer to download or print this pattern? You can now download the ad-free, printable PDF version of this pattern directly on Etsy! Instant download are available on Etsy right after purchase.
Why You Should Crochet a Sea Turtle Today
These charming ocean creatures are globally loved, making them a standout addition to any handmade plushie collection. Sea turtles were one of the first amigurumi I ever made. Crafting a plush sea turtle offers several fantastic benefits that I will share to you now:
- Quick and Low-Sew Construction: Unlike complex amigurumi that require endless hours of joining tiny limbs, this turtle design features simple shapes and minimal sewing. It is the perfect project when you want a fast, gratifying finish in just one evening. I find sewing the fins, tail and head easy once you’ve made it for the first time.
- Ideal for Market Prep and Gifting: Because they are so popular and fast to make, plush turtles are a proven bestseller at craft fairs, maker markets, and local shops. They also make thoughtful, cozy gifts for baby showers, birthdays, or nursery decor. Personally I love to see my crochet sea turtles on my shelves!
- Great for Scrap Busting: While green and beige are classic choices for a realistic sea turtle, this pattern looks amazing in any color combination. It is a fantastic way to use up leftover skeins of velvet, chenille, or worsted yarn sitting in your stash. I love to make new color combos on my turtle plushies.
- Beginner-Friendly Technique: Working on a sea turtle allows you to master foundational amigurumi skills—like working in the round, neat increases, and invisible decreases—without feeling overwhelmed by overly intricate steps. As I said before, the sea turtle was one of my first amigurumi, so trust me, you can with it!
Design and Yarn Notes for Best Results
Crocheting with plush, velvet, or chenille yarn creates an amazingly soft finish, but it can present a few unique challenges for beginners. Because textured yarn can make individual stitches slightly harder to see, keeping an accurate stitch count is key. I strongly recommend using a stitch marker at the beginning of every round to avoid accidentally adding or skipping stitches.
Choosing the Right Hook and Tension
Maintaining a firm, consistent tension throughout this project is essential for amigurumi. If your stitches are too loose, small gaps may form, allowing the white polyester fiberfill to peek through the shell. If you notice gaps appearing in your work, try switching to a hook size that is half a millimeter smaller. On the flip side, if your stitches are overly tight, pulling loops through plush yarn can cause the fibers to shed or break. Finding a comfortable, medium-tight tension ensures your turtle remains soft yet firm enough to hold its shape.
Yarn Substitutions
I haven’t tested this pattern yet with cotton yarn, but you can definitely choose cotton yarn to make this turtle plush! While super bulky chenille yarn gives this turtle its iconic plushie look, you can easily adapt this pattern to other yarn weights. If you prefer a smaller, traditional amigurumi, feel free to use worsted weight cotton or acrylic yarn with a 2.5 mm or 3.0 mm crochet hook. The resulting turtle will be miniature in size but equally cute!
More Patterns
If you’re looking for more patterns, take a look:
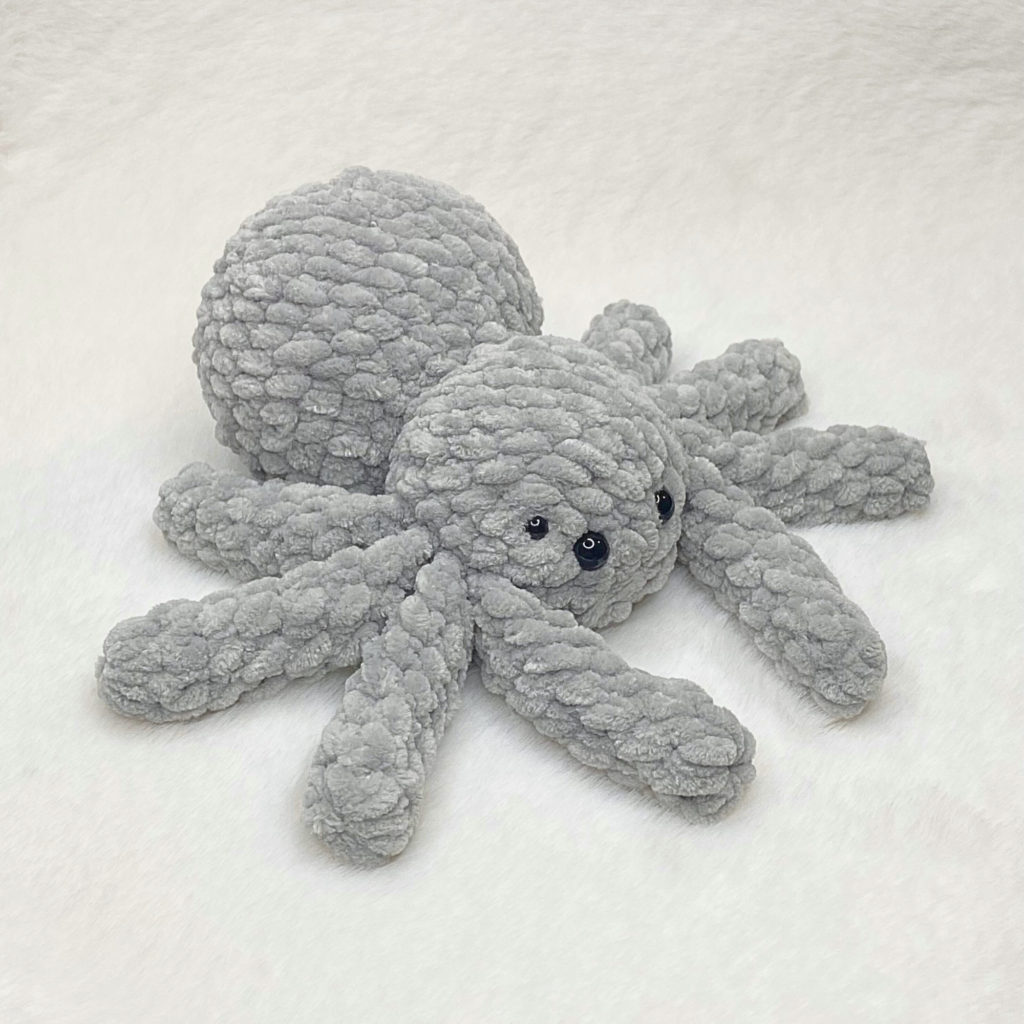
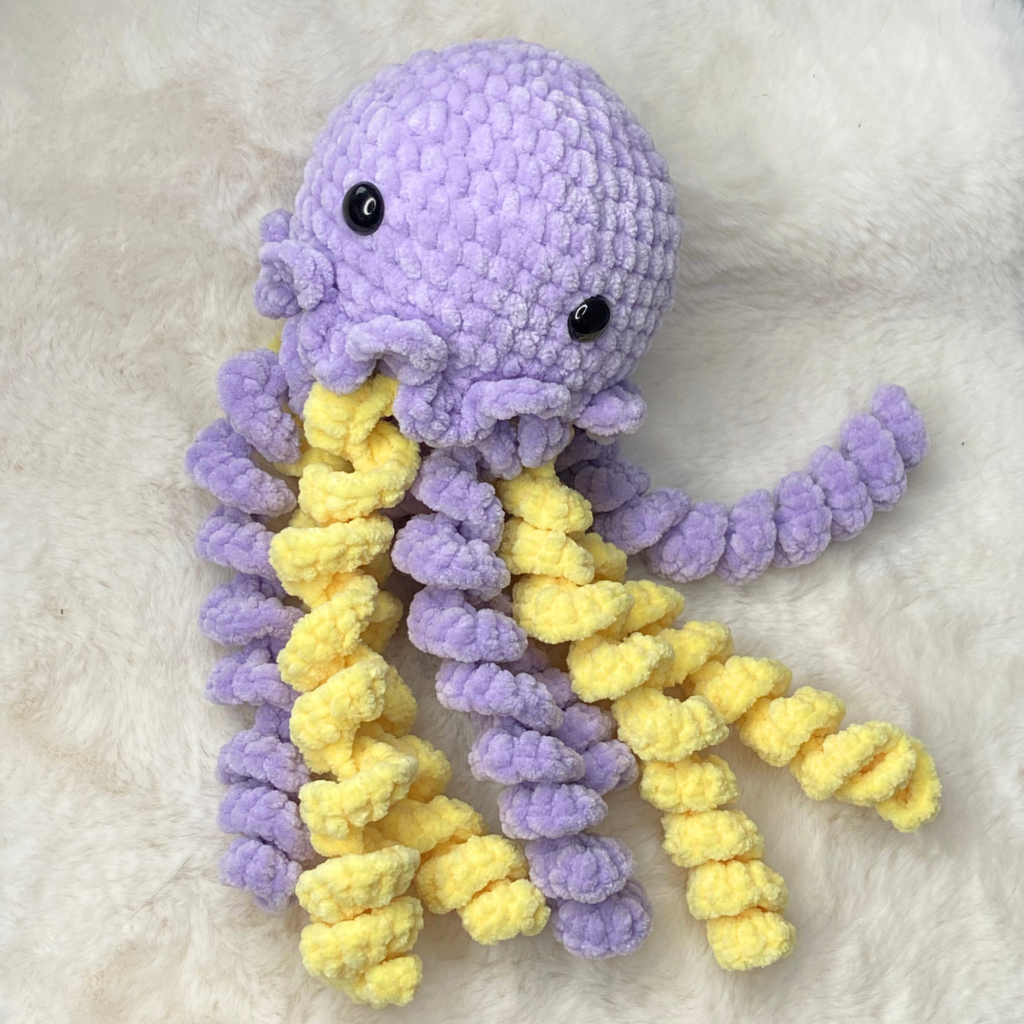
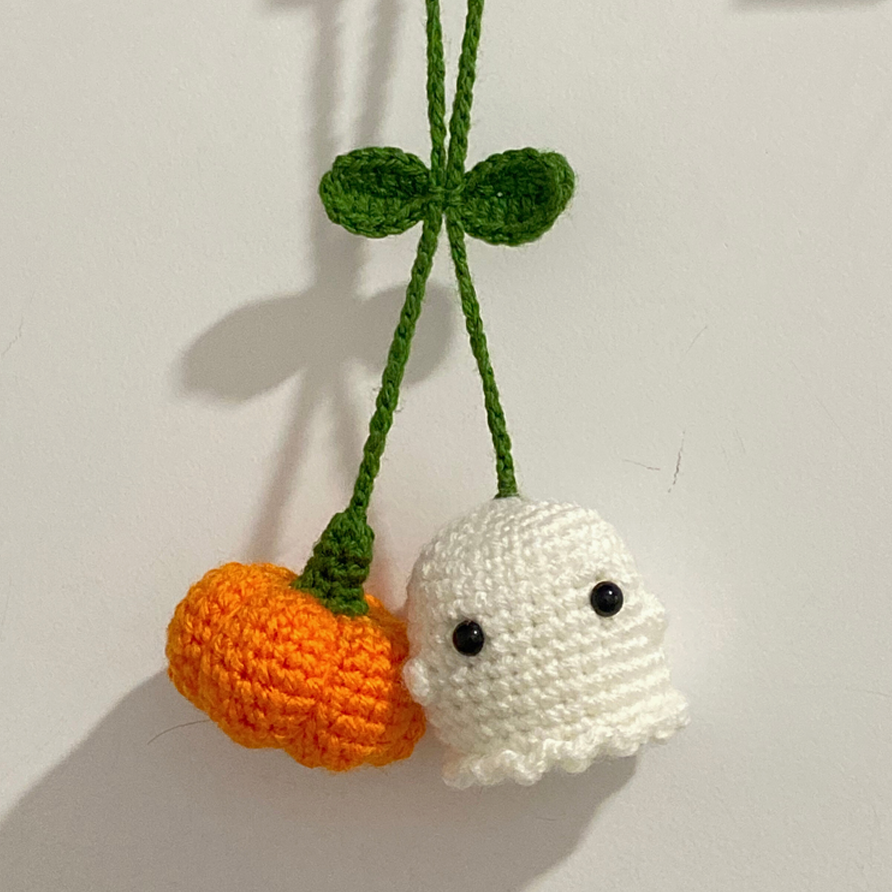
Materials Needed
- Super bulky plush velvet yarn (e.g., Himalaya Dolphin Baby or Bernat Blanket) in main color and shell color.
- Hook Size: 4.5 mm.
- Safety eyes: 14 mm.
- Polyfill stuffing
- Tapestry needle
- Scissors
- Stitch markers
Abbreviations (US Terminology)
- MR: magic ring
- Ch: chain
- St: stitch
- Sc: single crochet
- Sk: skip (skip stitch)
- Sl st: slip stitch
- Inc: increase
- Dec: decrease
- CC: change color
- FO: fasten off
- FLO: front loops only
Not ready to start right now?
Get the Ad-Free Printable PDF Pattern!
Prefer to download or print this pattern? You can now download the ad-free, printable PDF version of this pattern directly on Etsy! Instant download are available on Etsy right after purchase.
Shop the Crochet Turtle PDF Pattern on EtsyFree Turtle Crochet Pattern (Medium Size)
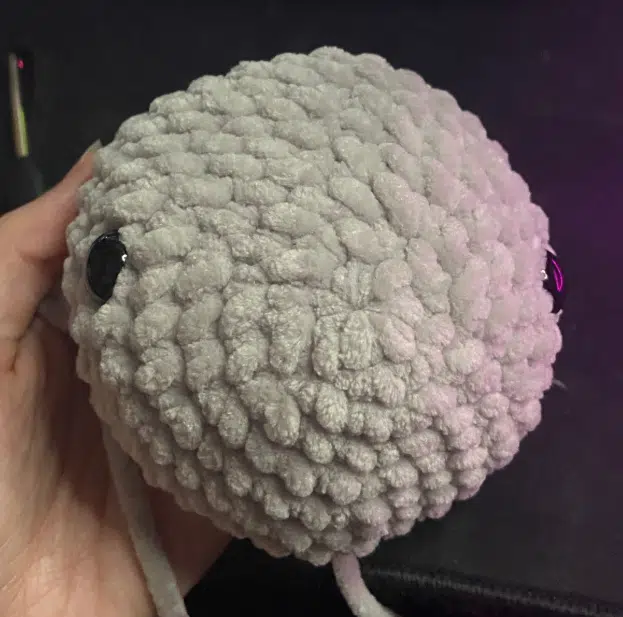
Crocheting the head
Start with main color yarn
Round 1: 6 sc in a MR (6)
Round 2: x6 inc (12) (you do one increase per each stitch).
Round 3: (1 sc, 1 inc) x6 (18) (you do one single crochet in the first stitch, then one increase in the following stitch, repeat this 6 times until the end of the row).
Round 4: (2 sc, 1 inc) x6 (24)
Round 5: (3 sc, 1 inc) x6 (30)
Round 6: (4 sc, 1 inc) x6 (36)
Rounds 7-10 (4 rounds): 36 sc (36)
Place safety eyes between R6 & R7, aligned horizontally.
Round 11: (4 sc, 1 dec)x6 (30)
Round 12: (3 sc, 1 dec) x6 (24)
Round 13: (2 sc, 1 dec) x6 (18)
Stuff firmly.
Sl st in the next st, FO and leave a very long tail for sewing after.
Crocheting the fins
Make two larger front fins and two smaller back fins:
Front fins (Make 2)
Round 1: 6 sc in a MR (6)
Round 2: x6 inc (12)
Round 3: (1 sc, 1 inc) x6 (18)
Round 4: (2 sc, 1 inc) x6 (24)
Round 5: (3 sc, 1 inc) x6 (30)
Round 6: (4 sc, 1 inc) x6 (36)
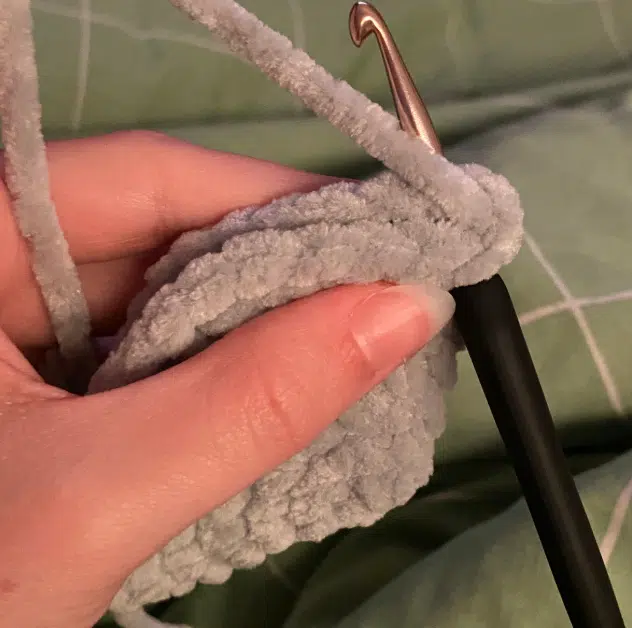
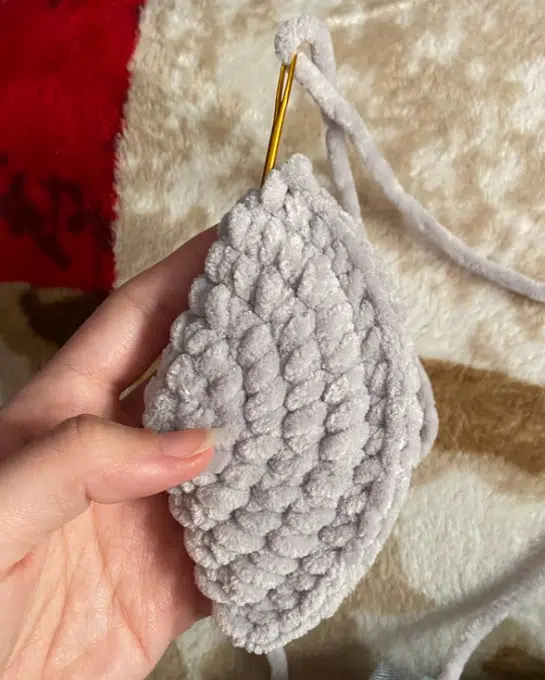
Fold the fin in half and crochet across both layers with sc to close it.
Back fins (Make 2)
Round 1: 6 sc in a MR (6)
Round 2: x6 inc (12)
Round 3: (1 sc, 1 inc) x6 (18)
Round 4: (2 sc, 1 inc) x6 (24)
Round 5: (3 sc, 1 inc) x6 (30)
Fold the fin in half and crochet across both layers with sc to close it.
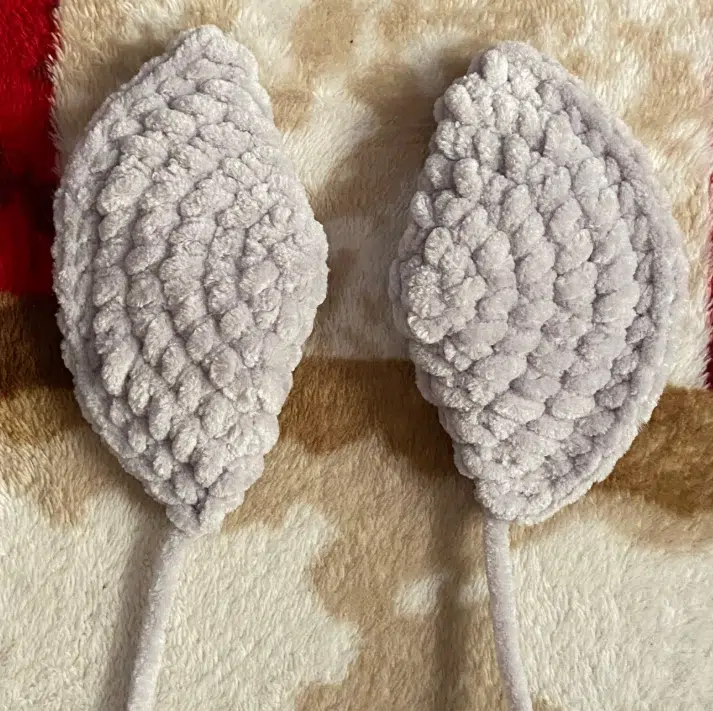
Once you’ve made the four fins, change the orientation of the yarn tail in 2 of them (one front fin and one back fin) by passing the yarn through to the opposite end with a needle. This creates two pairs of symmetrical fins.
Crocheting the tail
Start with main colour
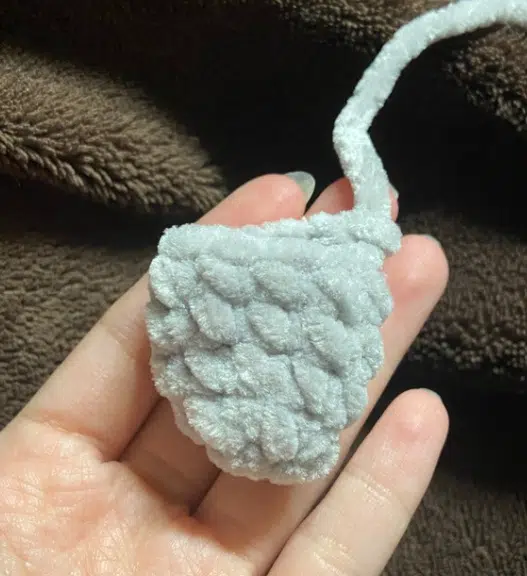
Round 1: 5 sc in a MR (5)
Round 2: x5 inc (10)
Rounds 3-5 (3 rounds): 10 sc (10)
Sl st in next st, pull the yarn and leave a tail for sewing.
Crocheting the shell
Starting with shell colour
Round 1: 6 sc in a MR (6)
Round 2: x6 inc (12)
Round 3: (1 sc, 1 inc) x6 (18)
Round 4: (2 sc, 1 inc) x6 (24)
Round 5: (3 sc, 1 inc) x6 (30)
Round 6: (4 sc, 1 inc) x6 (36)
Round 7: (5 sc, 1 inc) x6 (42)
Round 8: (6 sc, 1 inc) x6 (48)
Round 9: (7 sc, 1 inc) x6 (54)
Round 10: (8 sc, 1 inc) x6 (60)
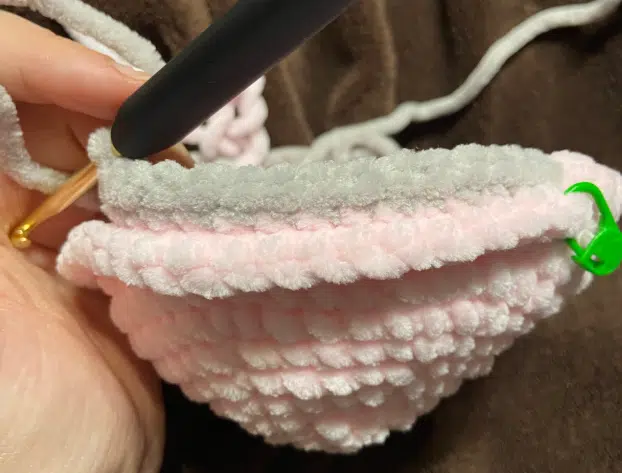
Round 11: x60 sc FLO and place a stitch marker in the back loop of the first stitch, as you will need to return to it later. (60)
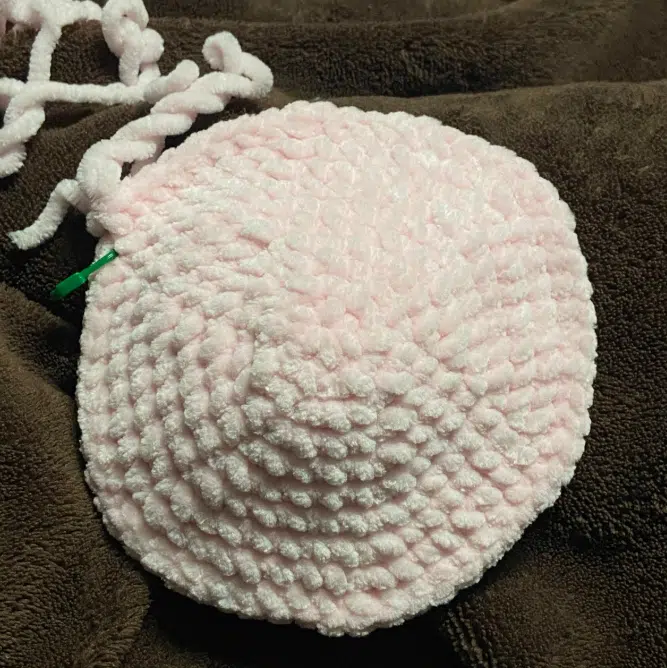
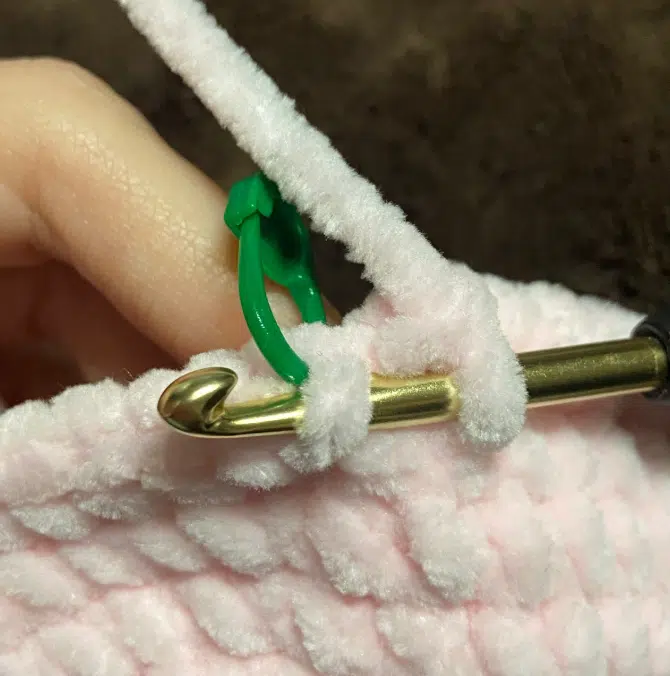
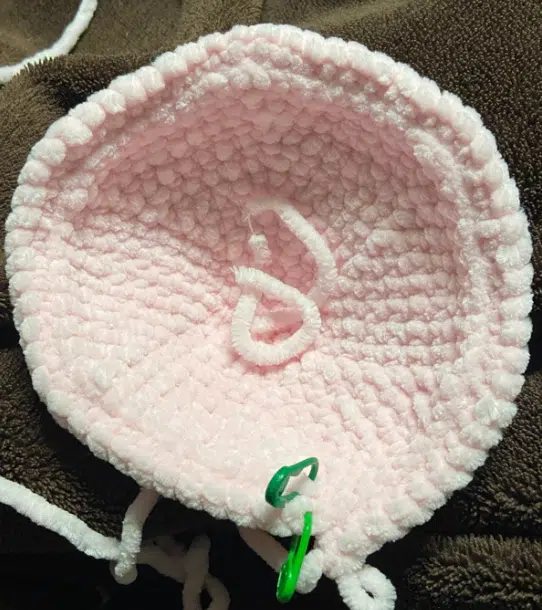
Round 12: CC to grey (main color) in the last stitch of the previous round, and do 60 sc in the 60 back loops you left behind in R11. (60)
Round 13: 6 sc, ch5, skip 5, 9 sc, ch4, skip 4, 4 sc, ch3, skip 3, 4 sc, ch4, skip 4, 9 sc, ch5, skip 5, 7 sc (60)
Round 14: (8 sc, 1 dec) x6 (54) (Note: Work in the FLO when working over the chain spaces).
Round 15: (7 sc, 1 dec) x6 (48)
Round 16: (6 sc, 1 dec) x6 (42)
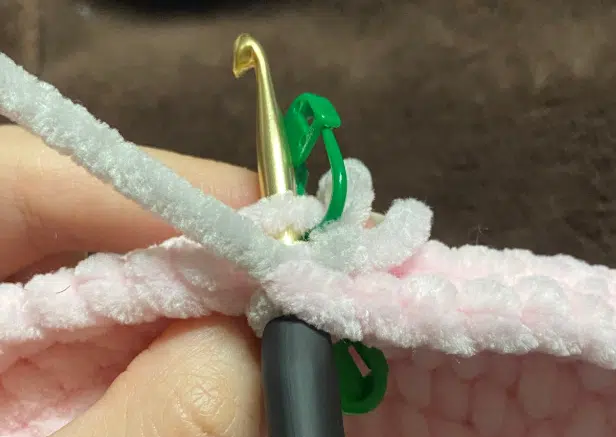

Attaching Fins and Tail to the Shell
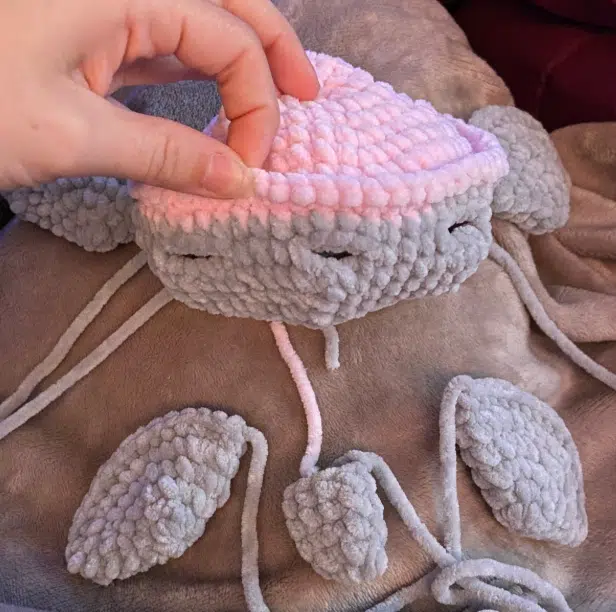
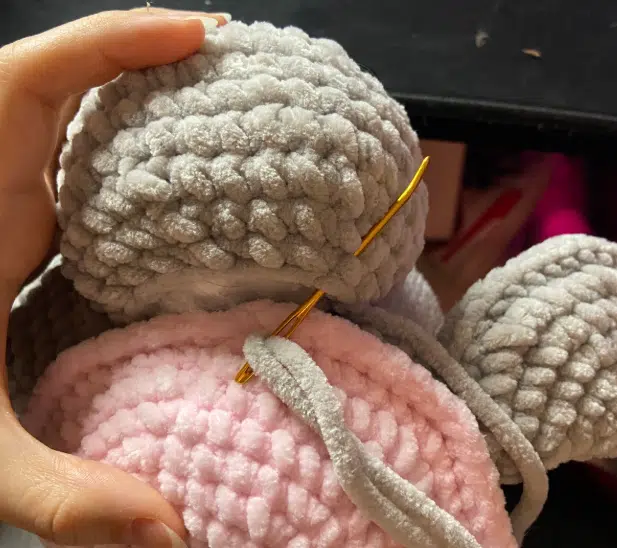
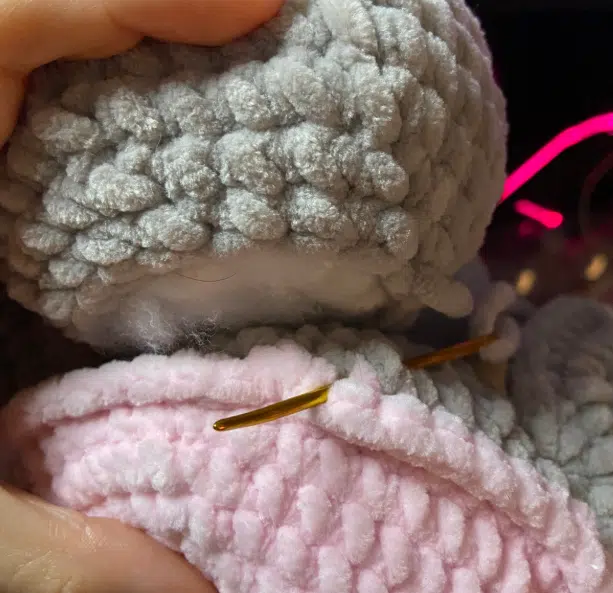
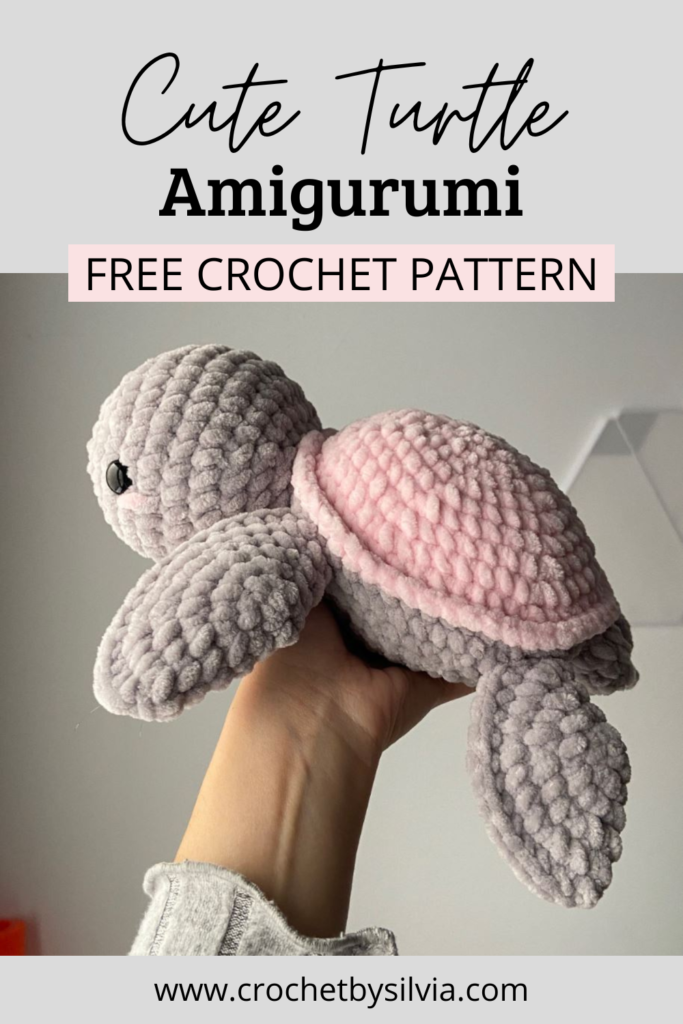
After R16, attach the fins and tail to the shell in the correct orientation (refer to photos as a guide).
Place the tail in the 3-stitch gap (the smallest one) and the two smaller fins in the adjacent left and right gaps. Place the two larger fins in the two front gaps of the shell.
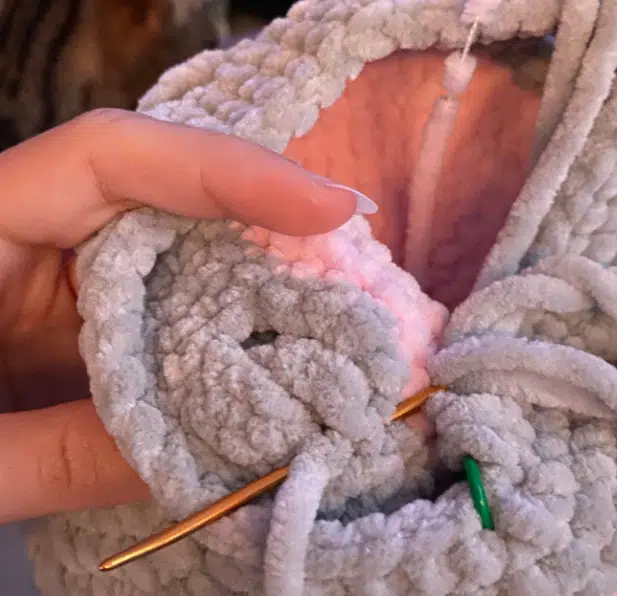
Insert the edge of each piece slightly inside the gap and sew it securely, passing the yarn through both the edge of the hole and the piece until there are no gaps.
Note: I prefer placing the fins with the neat edge facing up for a cleaner look.
Round 17: (5 sc, 1 dec) x6 (36)
Round 18: (4 sc, 1 dec) x6 (30)
Round 19: (3 sc, 1 dec) x6 (24)
Round 20: (2 sc, 1 dec) x6 (18)
Stuff the body firmly.
Round 21: (1 sc, 1 dec) x6 (12)
Round 22: x6 dec (6)
Sew the remaining 6 stitches through the FLO, pull tightly to close, hide the yarn tail inside the shell, and cut.
Assembly and Stuffing Techniques
The secret to a perfectly rounded amigurumi turtle lies in the stuffing technique. Rather than inserting large clumps of fiberfill all at once, add small amounts gradually as you reach the final closing rounds of the shell. This method prevents unwanted lumps and distributes the filling evenly, giving the body a smooth, organic finish. Be careful not to overstuff, as stretching the fabric too far will open up the stitches and expose the interior material.
When attaching the flippers, head, and shell pieces together, use a tapestry needle paired with strong matching yarn or a strand of cotton yarn for extra security. Sewing through both the front loops of the body and the edge stitches of the limbs creates a sturdy, seamless join that can handle gentle play.
Safety Note: If you are making this plush turtle as a toy for babies, toddlers, or pets, consider embroidering the eyes with black yarn instead of using plastic safety eyes to eliminate any potential choking hazard.
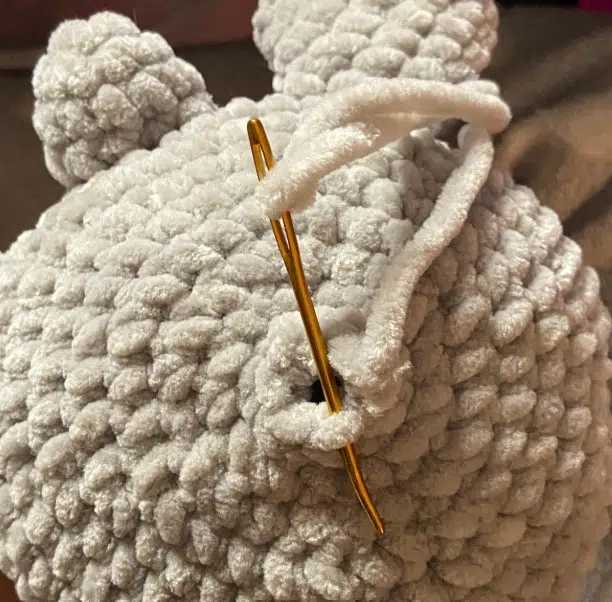
Attaching the Head
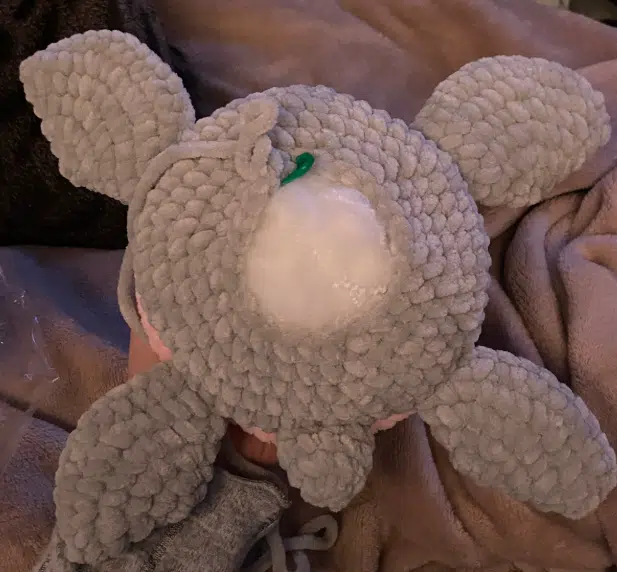
Sew the head to the body right between the two front fins. Use an invisible sewing method: pass the needle upwards through the head stitches and downwards through the body stitches.
Details (Optional)
Add a touch of blush using pink yarn or thread below the eyes with a needle.
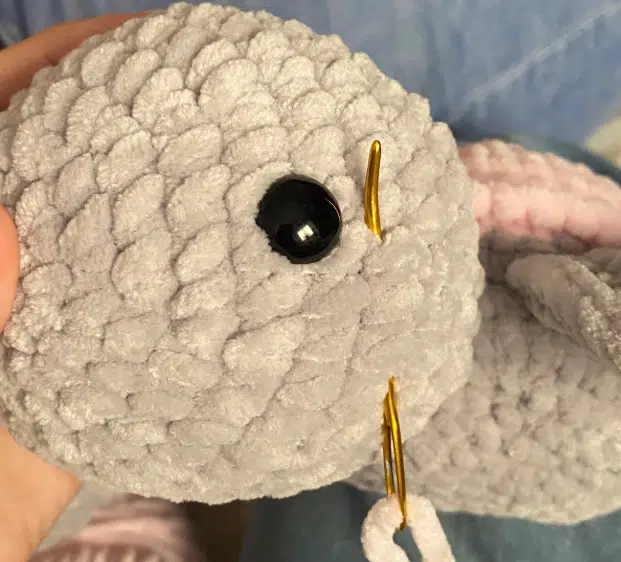
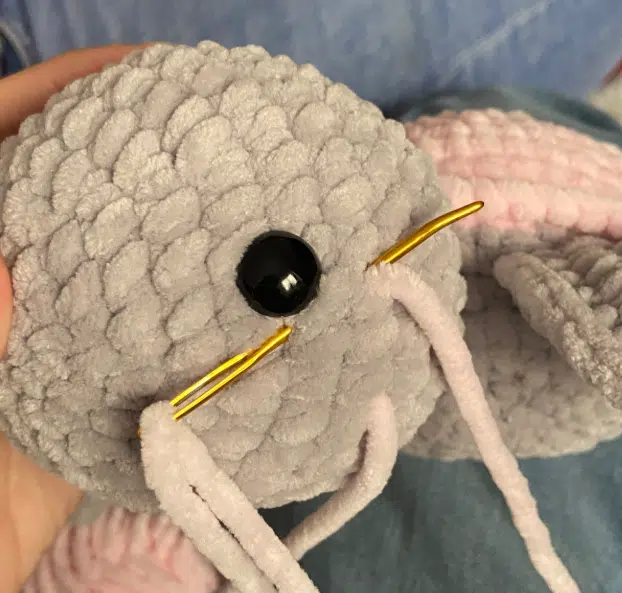

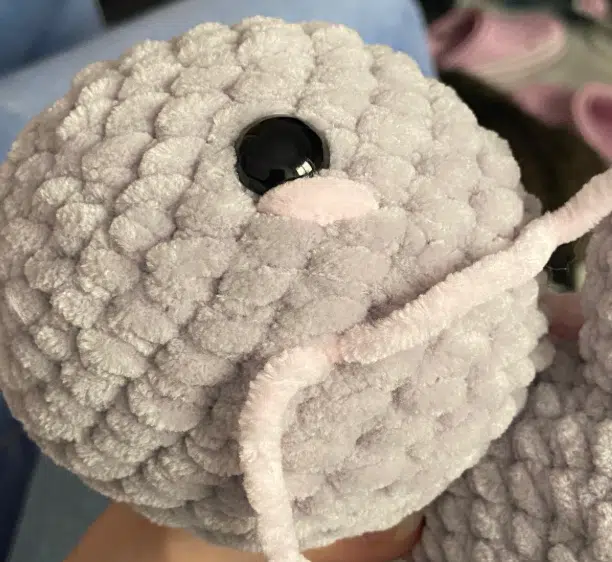
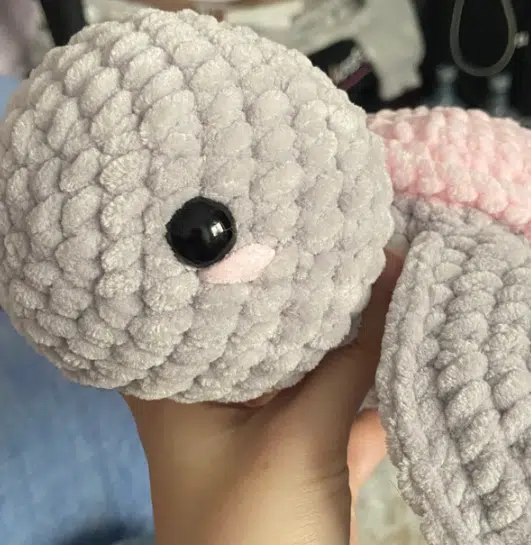
And that’s it!
I hope you enjoyed crocheting this free turtle crochet pattern just as much as I loved designing it. If you decide to make one, I would love to see how it turns out—don’t forget to tag me on Instagram (@crochetbysilvia) so I can admire your cute amigurumi!
Your support means the world and helps me keep creating and sharing more free patterns with you!
Frequently Asked Questions About This Pattern
Yes! This pattern uses fundamental amigurumi techniques, including the magic ring, single crochet, increases, and decreases. As long as you know basic crochet stitches, you can complete this project with ease.
Thanks to the bulky yarn and simple construction, most crocheters can finish this turtle in about 1.5 to 2 hours. It is one of the fastest plushie projects to make!
Absolutely! You are welcome to sell any physical plushies you create using this free pattern at local craft markets, online shops, or fairs. Don’t use my original photos as your listing pictures.
Don’t doubt to check our other free crochet patterns.
—Happy crocheting!
This pattern is for personal use only. You may not copy, reproduce, alter, publish, or distribute this pattern in any format (including video tutorials). If you wish to share this pattern, please share a link to it rather than reprinting it on your site or blog.
You are welcome to sell finished items made from this pattern in small quantities, but do NOT use my photos as your listing or promotional photos. Please credit Crochet by Silvia as the designer.
Want to make more cute ocean friends? Check out my free squid crochet pattern or my free jellyfish crochet pattern!